
PPT图形PPT图表制作技巧:一、幻灯片图形绘制
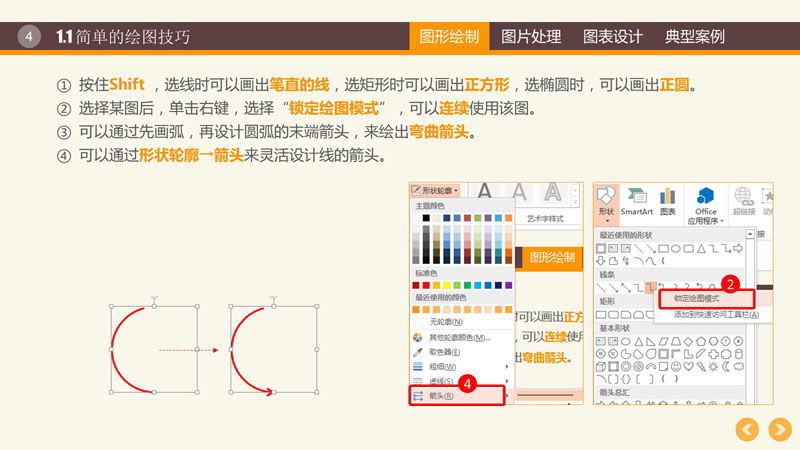
1.1 简单的PPT图表绘图技巧
①按住Shift ,选线时可以画出笔直的线,选矩形时可以画出正方形,选椭圆时,可以画出正圆。②选择某图后,单击右键,选择“锁定绘图模式”,可以连续使用该图。③可以通过先画弧,再设计圆弧的末端箭头,来绘出弯曲箭头。④可以通过形状轮廓→箭头来灵活设计线的箭头。
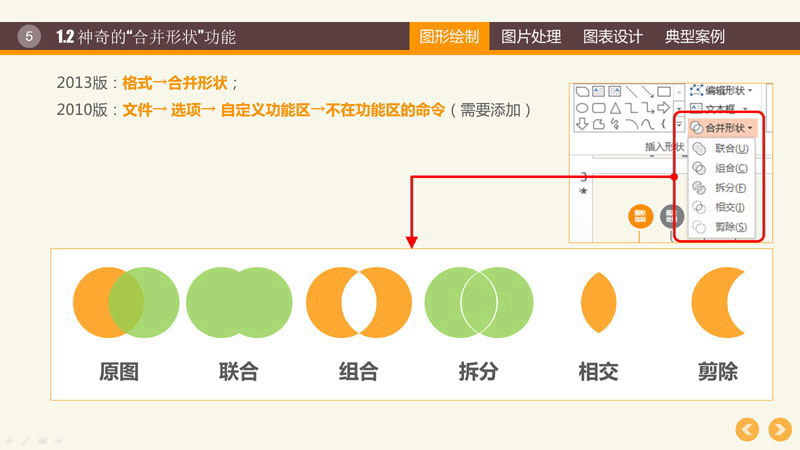
1.2PowerPoint神奇的“合并形状”功能
2013版:格式→合并形状;
2010版:文件→ 选项→ 自定义功能区→不在功能区的命令(需要添加)
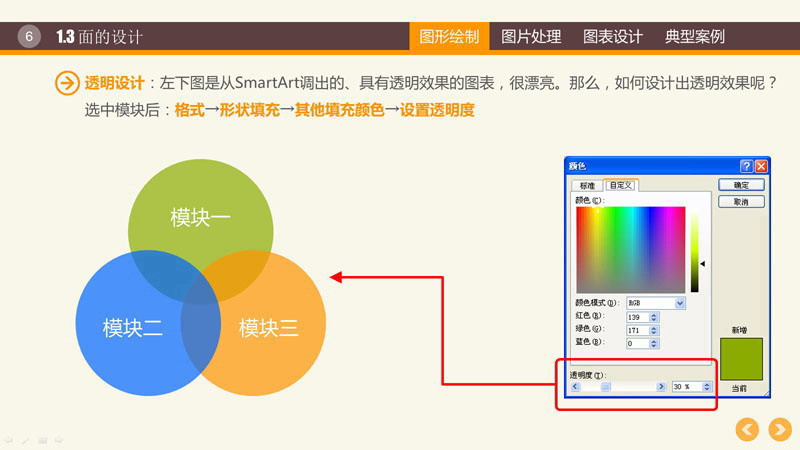
1.3 幻灯片面的设计
透明设计:左下图是从PowerPoint SmartArt调出的、具有透明效果的图表,很漂亮。那么,如何设计出透明效果呢?选中模块后:格式→形状填充→其他填充颜色→设置透明度
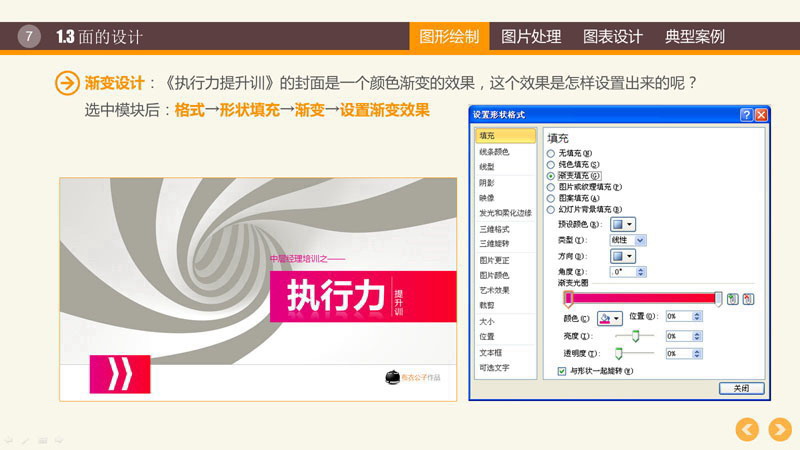
幻灯片渐变设计:《执行力提升训》的封面是一个颜色渐变的效果,这个效果是怎样设置出来的呢?
选中模块后:格式→形状填充→渐变→设置渐变效果
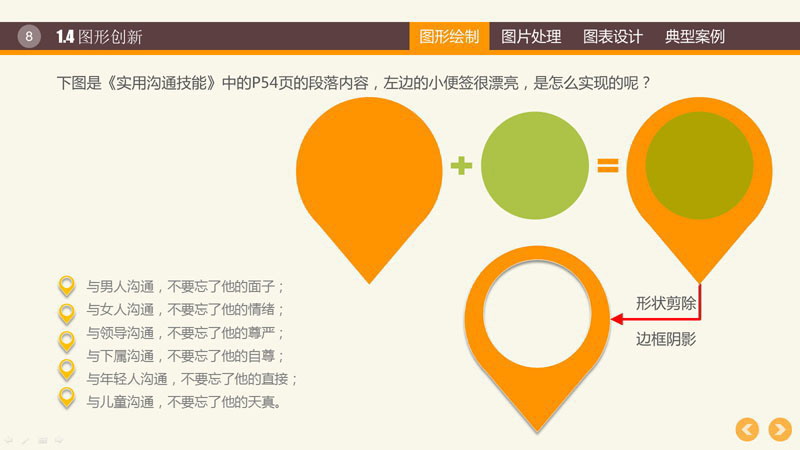
1.4 PowerPoint图形创新
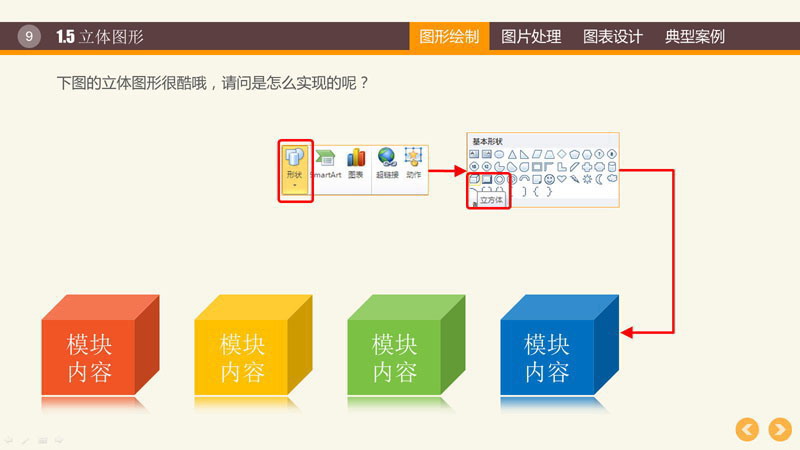
1.5 PowerPoint立体图形
一、幻灯片图片处理
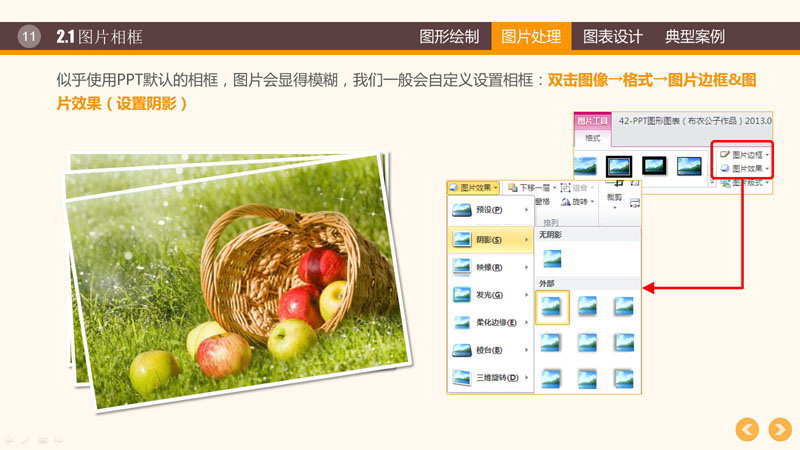
2.1 PowerPoint图片相框
似乎使用PPT默认的相框,图片会显得模糊,我们一般会自定义设置相框:双击图像→格式→图片边框&图片效果(设置阴影)
2.2 PPT使用图片映像效果
下图的美女,有诱人的美腿倒映在那里,这个效果是如何得到的呢?双击图像→格式→图片效果(设置映像)

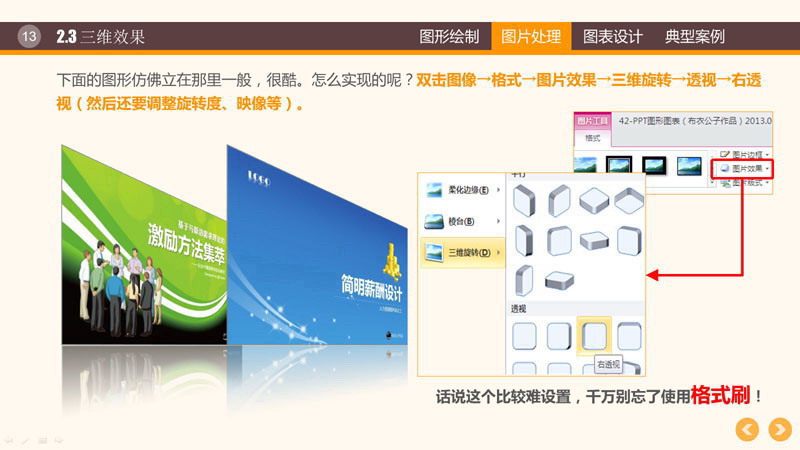
2.3 PPT中使用三维效果
下面的图形仿佛立在那里一般,很酷。怎么实现的呢?双击图像→格式→图片效果→三维旋转→透视→右透视(然后还要调整旋转度、映像等)。
2.4PPT中 图片使用翘角效果
我们的视觉常常会欺骗我们,同一个平面的物体,就因为增加了阴影的效果,它就突然翘角起来了。换句话说,这张图片要呈现出两边微微翘起的效果,只需要增加阴影就够了。

2.5 在PowerPoint中将图片裁剪为个性形状
如下图,图片可以裁剪为各种个性化的形状,适合多图排版时的灵活运用。
方法:双击图片→ 裁剪→ 裁剪为形状

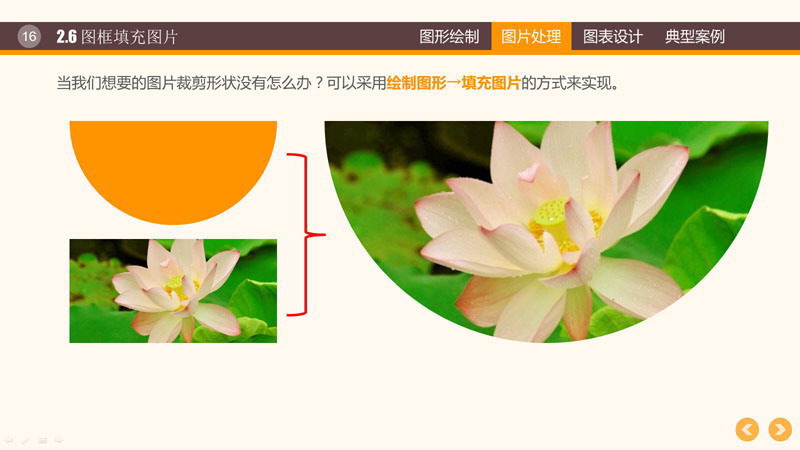
2.6 图框填充图片
当我们想要的图片裁剪形状没有怎么办?可以采用绘制图形→填充图片的方式来实现。
请注意:绘制图形和将填充图形的长宽比务必保持一致!
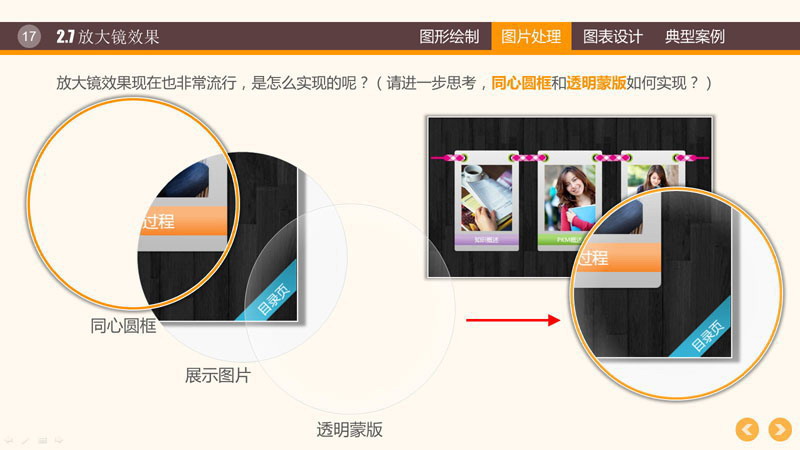
2.7 幻灯片制作技巧之图片放大镜效果
放大镜效果现在也非常流行,是怎么实现的呢?(请进一步思考,同心圆框和透明蒙版如何实现?)
2.8 各种快捷效果
这些效果或者只会在特定的场合才可以用的到,但也可以了解下。(双击图片→ 颜色&艺术效果)

3.1 幻灯片SmartArt 图表的优化设计
下图是SmartArt中的图表,我们可以对其设置个性化颜色,并添加连接线和下划线,效果就大不相同了!
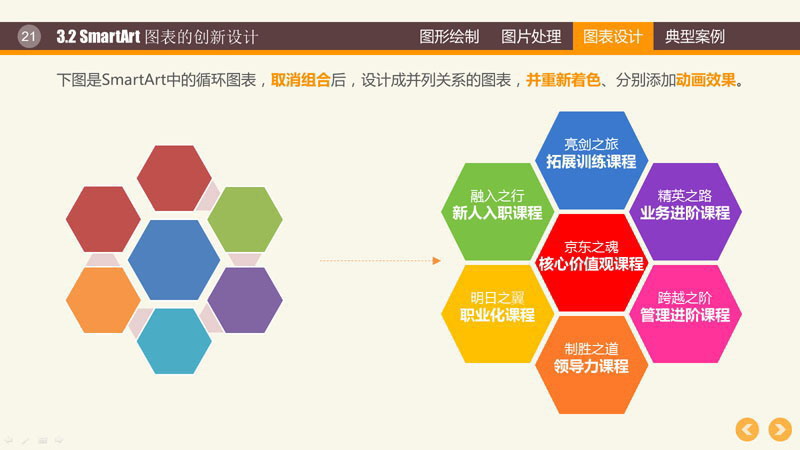
下图是SmartArt中的循环图表,取消组合后,设计成并列关系的图表,并重新着色、分别添加动画效果。

3.3 PPT信息图表的仿制
现在各种信息图表非常流行,比如腾讯的新闻百科中有各种漂亮的信息图表。我们在百度或者谷歌输入信息图表也可以找到许多时髦的图表。
下图的图表是怎么模仿的呢?实际上就是两个弧形拼起来就好了,大家可以拆开右边的图琢磨一下。
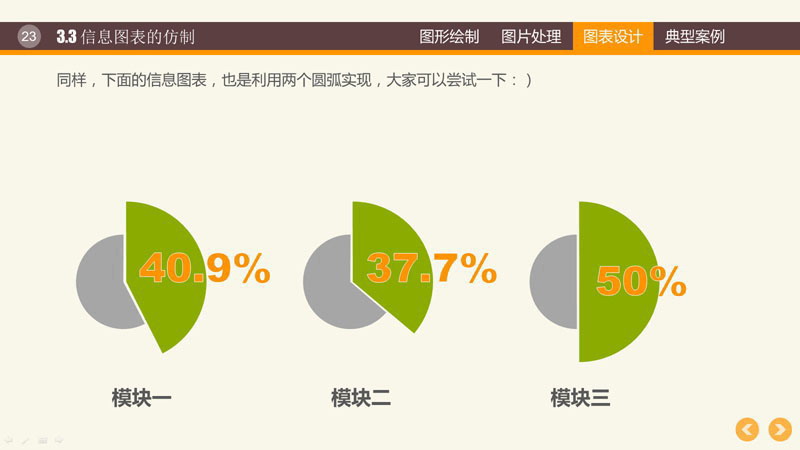
同样,下面的信息图表,也是利用两个圆弧实现,大家可以尝试一下:)

当我们看到比较漂亮的个性图表时,随时保存下来,然后当需要时,可以仿制出来,如下:
3.4 PPT个性图表的仿制
当我们看到比较漂亮的个性图表时,随时保存下来,然后当需要时,可以仿制出来,如下:

3.5 PPT个性图表的创新
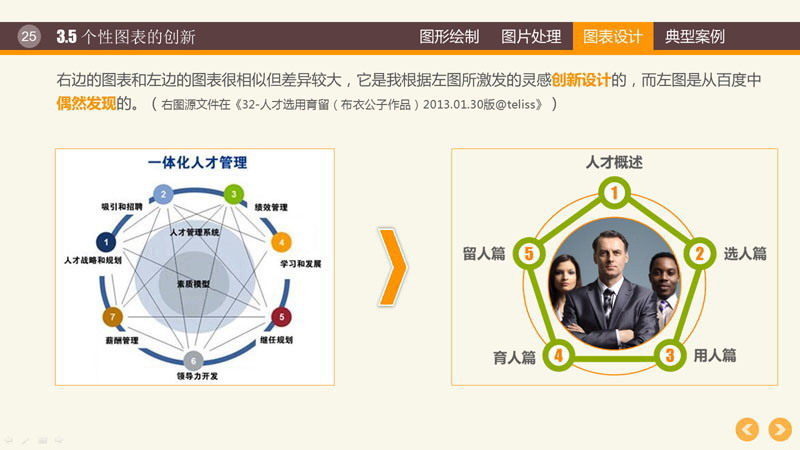
右边的图表和左边的图表很相似但差异较大,它是我根据左图所激发的灵感创新设计的,而左图是从百度中偶然发现的。
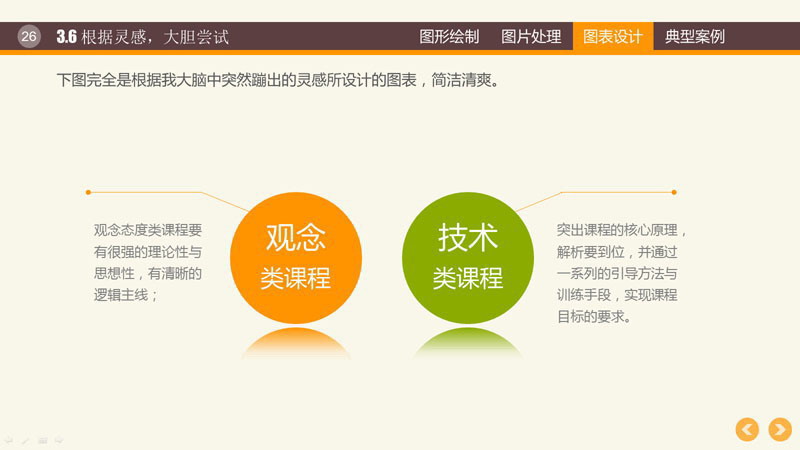
3.6 根据灵感,大胆尝试
下图完全是根据大脑中突然蹦出的灵感所设计的图表,简洁清爽。
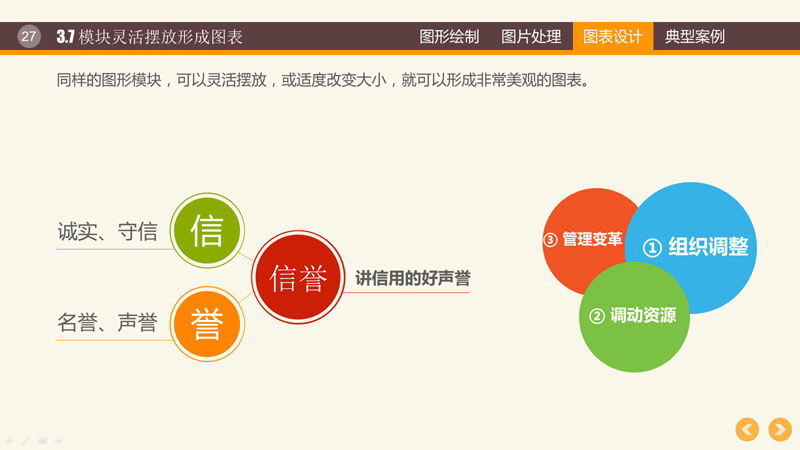
3.7 模块灵活摆放形成图表
同样的图形模块,可以灵活摆放,或适度改变大小,就可以形成非常美观的图表。
3.8 幻灯片中引入图片的图表设计
我们在设计图表的过程中,可以根据版面的需求,灵活地引入图片,让表达更直观!

四、 幻灯片图形图表典型案例
4.1 并列关系PPT图表

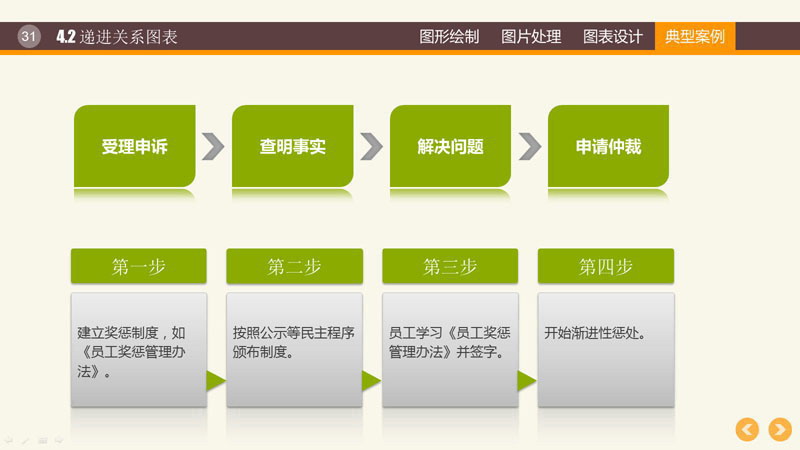
4.2 递进关系PPT图表
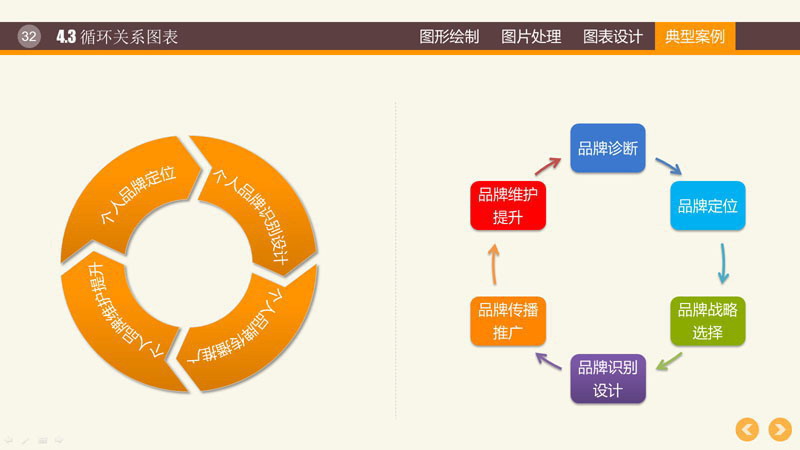
4.3 循环关系PPT图表
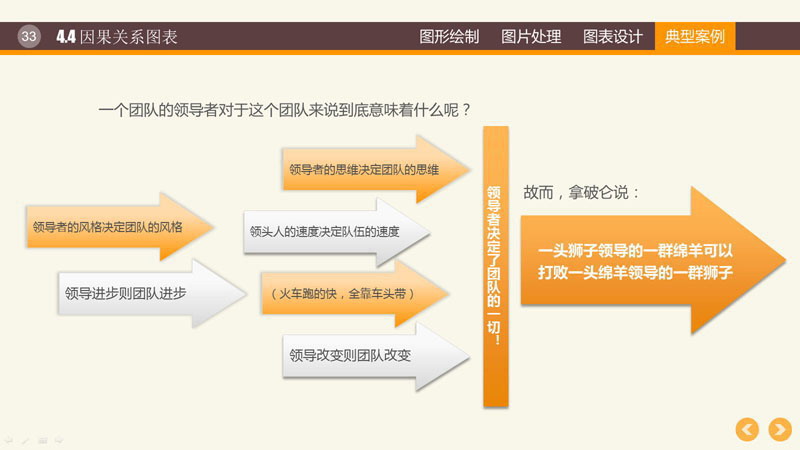
4.4 因果关系PPT图表
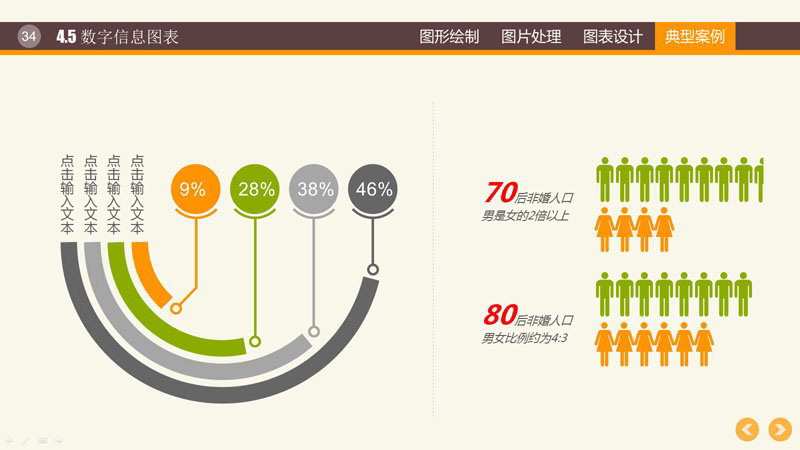
4.5 数字信息PPT图表
4.6 时间线PPT图表

请到这里下载更多PPT图表素材;
幻灯片制作教程之PPT图形PPT图表制作技巧PPT下载;
标签: 图表制作技巧