光束制作过程虽然繁琐,不过方法非常简单,只需要把烟雾分解,然后渲染每段的高光部分,再慢慢组合及变形就可以得到稍微复杂的效果。
最终效果
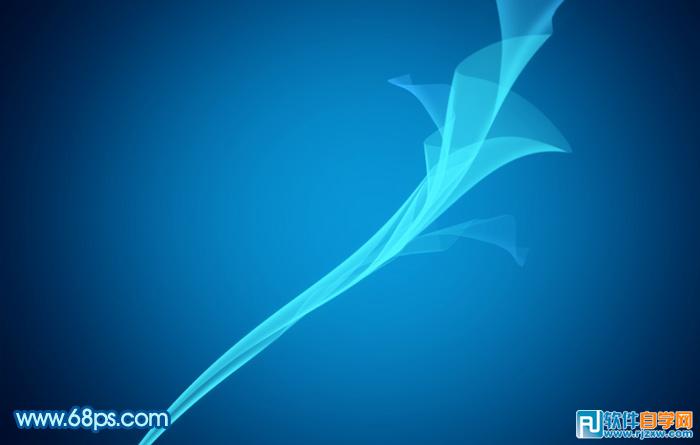
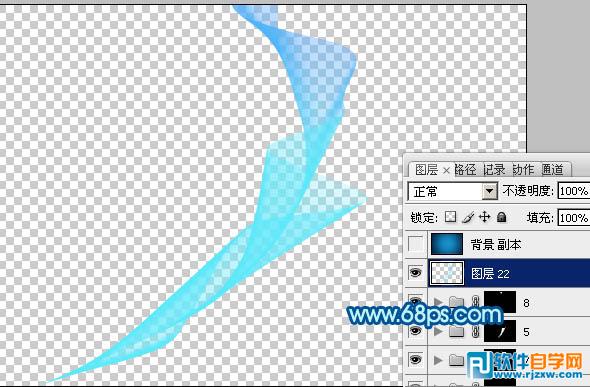
1、效果图有点复杂,不过制作的时候先由简单的图形入手。我们需要先把下图所示的效果做出来。

<图1>
光束制作过程虽然繁琐,不过方法非常简单,只需要把烟雾分解,然后渲染每段的高光部分,再慢慢组合及变形就可以得到稍微复杂的效果。
最终效果
1、效果图有点复杂,不过制作的时候先由简单的图形入手。我们需要先把下图所示的效果做出来。
<图1>
光束制作过程虽然繁琐,不过方法非常简单,只需要把烟雾分解,然后渲染每段的高光部分,再慢慢组合及变形就可以得到稍微复杂的效果。
<图2>

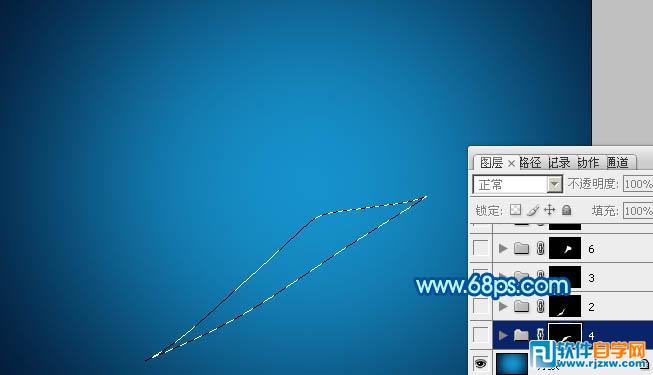
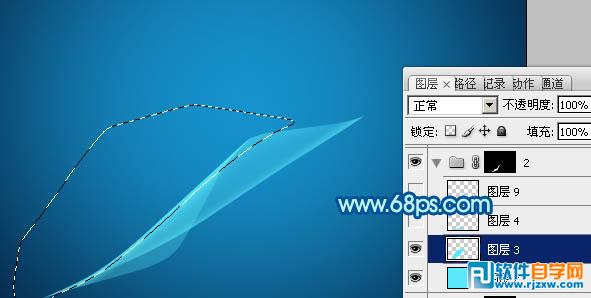
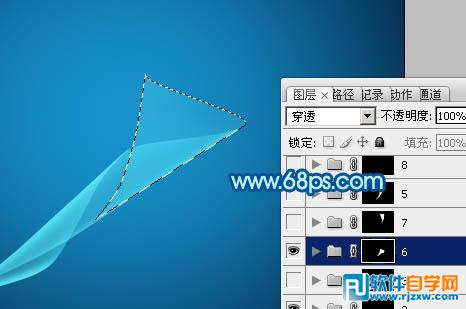
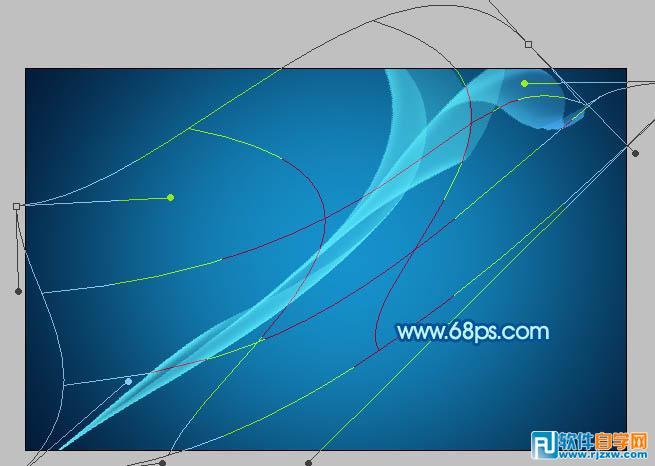
<图3> 3、新建一个组,用钢笔勾出第一段光束的轮廓,转为选区后给组添加图层蒙版,如下图。
<图4>
光束制作过程虽然繁琐,不过方法非常简单,只需要把烟雾分解,然后渲染每段的高光部分,再慢慢组合及变形就可以得到稍微复杂的效果。
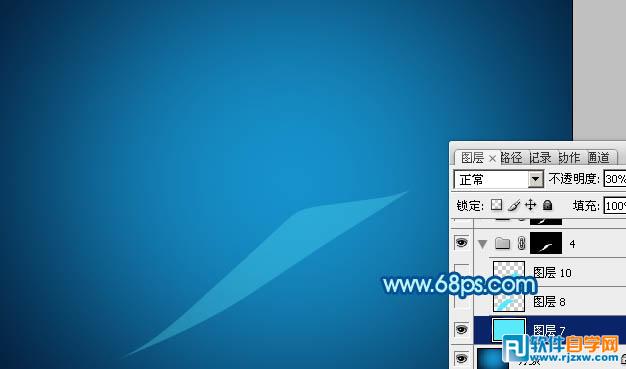
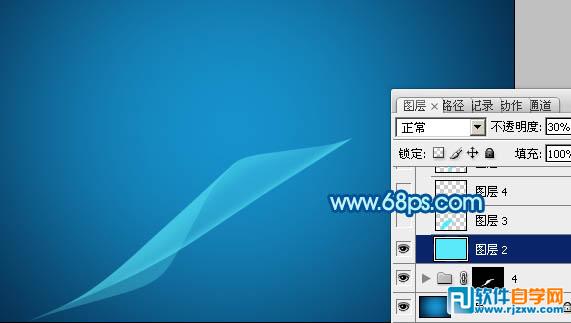
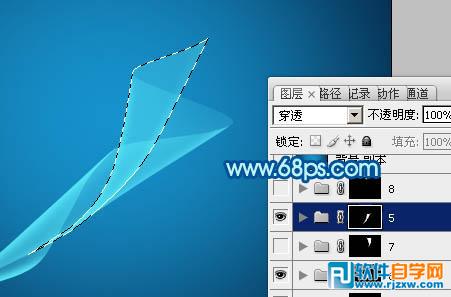
<图5> 5、新建一个图层,用钢笔勾出顶部边缘的高光选区,羽化5个像素后填充相同的颜色,不透明度也设置为:30%,效果如下图。
<图6> 6、新建一个图层,用钢笔勾出底部边缘的高光选区,羽化5个像素后填充相同的青色,不透明度改为:60%,如下图。
<图7>
光束制作过程虽然繁琐,不过方法非常简单,只需要把烟雾分解,然后渲染每段的高光部分,再慢慢组合及变形就可以得到稍微复杂的效果。
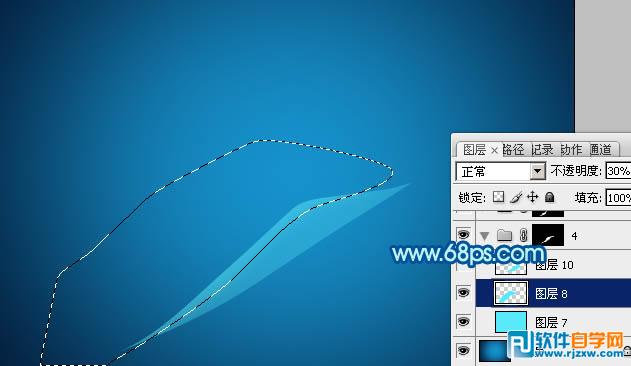
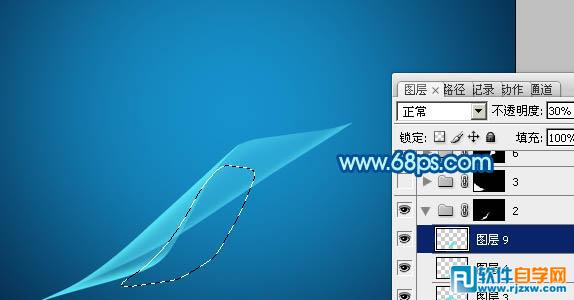
<图8> 8、在组里新建一个图层,填充青色,不透明度改为:30%,效果如下图。
<图9> 9、新建一个图层,用钢笔勾出顶部边缘的高光选区,羽化3个像素后填充青色,如下图。
<图10>
光束制作过程虽然繁琐,不过方法非常简单,只需要把烟雾分解,然后渲染每段的高光部分,再慢慢组合及变形就可以得到稍微复杂的效果。
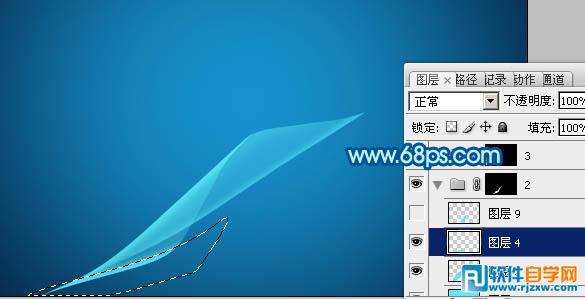
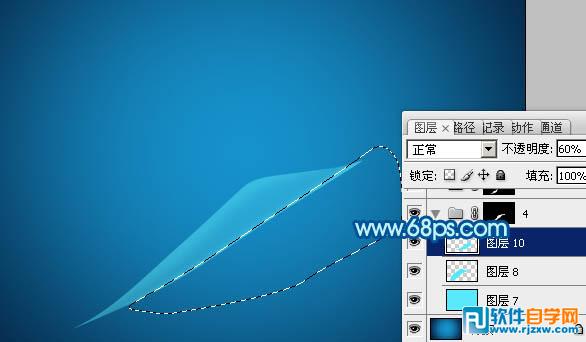
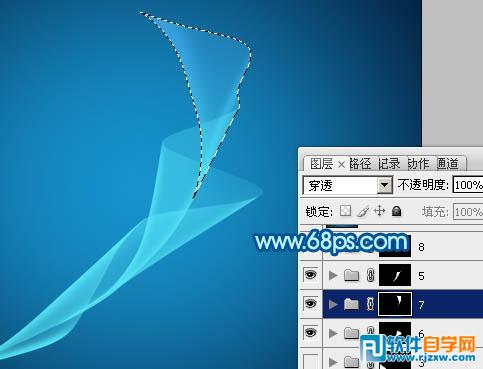
<图11> 11、新建一个图层,用钢笔勾出右侧边缘的高光选区,羽化5个像素后填充青色,不透明度改为:30%,效果如下图。
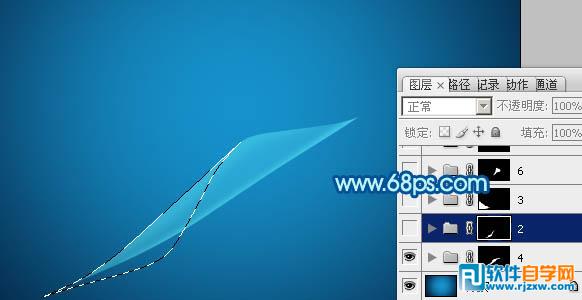
<图12> 12、新建一个组,同上的方法制作第三段光束,效果如下图。
<图13>
光束制作过程虽然繁琐,不过方法非常简单,只需要把烟雾分解,然后渲染每段的高光部分,再慢慢组合及变形就可以得到稍微复杂的效果。
<图14>
<图15>
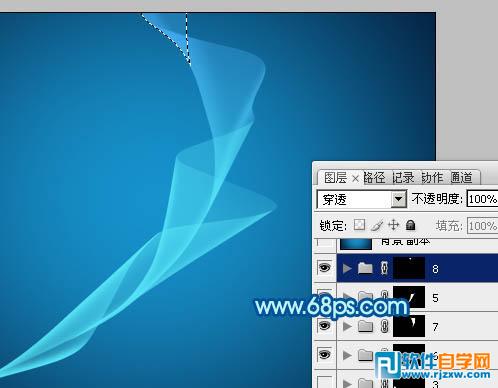
<图16> 14、把背景图层隐藏,在图层的最上面新建一个图层,按Ctrl + Alt + Shift + E 盖印图层,得到我们做好的光束。
<图17>
光束制作过程虽然繁琐,不过方法非常简单,只需要把烟雾分解,然后渲染每段的高光部分,再慢慢组合及变形就可以得到稍微复杂的效果。

<图18> 16、把光束复制一层,原光束隐藏。按Ctrl + T 对光束副本变形处理,右键选区变形,按照自己的喜欢调整弧度,确定后效果如图20。
<图19>

<图20> 17、再多复制几层适当调整大小和弧度,效果如下图。

<图21>
光束制作过程虽然繁琐,不过方法非常简单,只需要把烟雾分解,然后渲染每段的高光部分,再慢慢组合及变形就可以得到稍微复杂的效果。
<图22>
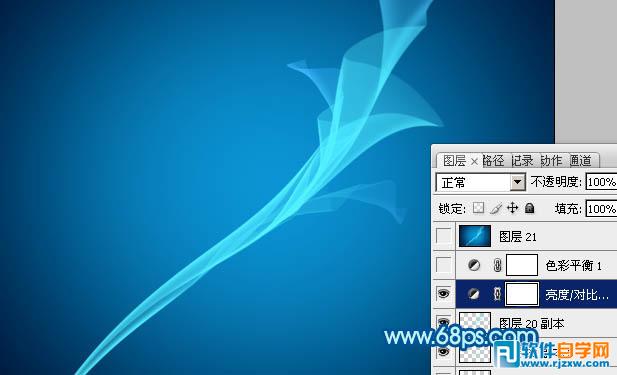
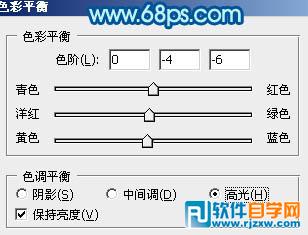
<图23> 19、创建色彩平衡调整图层,调整高光颜色,参数设置如图24,效果如图25。
<图24>

<图25> 最后调整一下细节,完成最终效果。