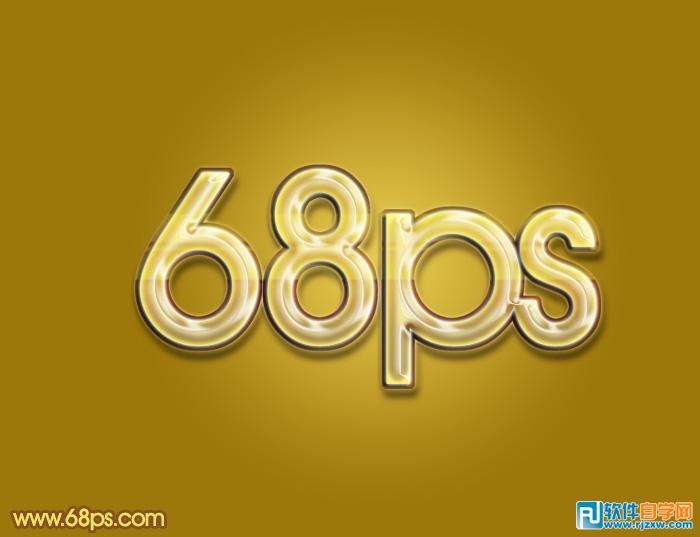
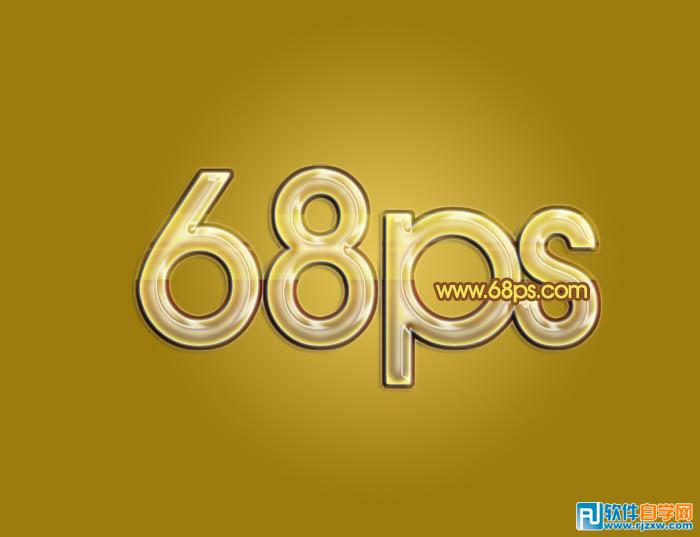
只用一个图层样式也可以做出不错的塑料字,不过层次感不是很强。可以在文字的边框及文字中心等多添加几层,再分别设置不同的样式增强塑料的光滑度,效果会更好。 最终效果
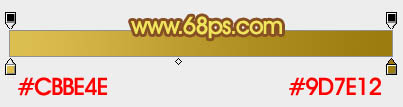
1、新建一个1000 * 600像素的文件,选择渐变工具,颜色设置如图1,由中心向边角拉出图2所示的径向渐变。
<图1>

<图2> 2、选择文字工具,把前景颜色设置为黄褐色:#9B7B0C,然后输入想要的文字,字体可以任意选择。这里用的字体为“AvantGarde MD BT”喜欢的可以去网上下载。

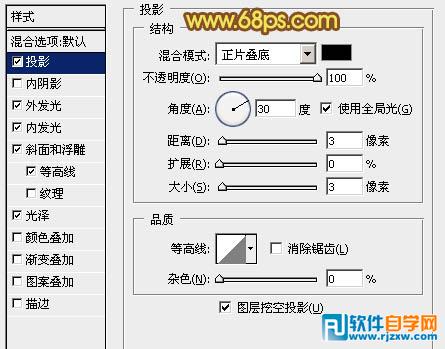
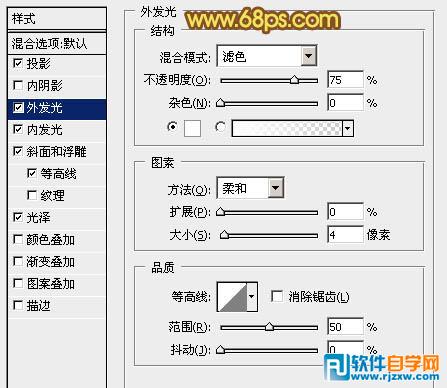
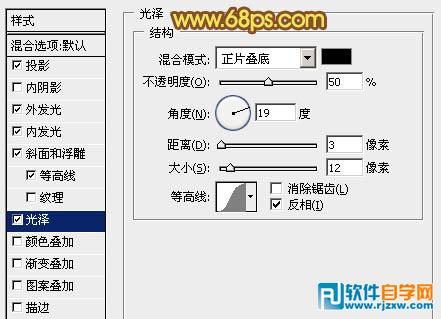
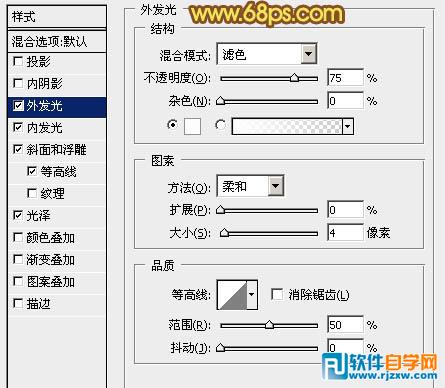
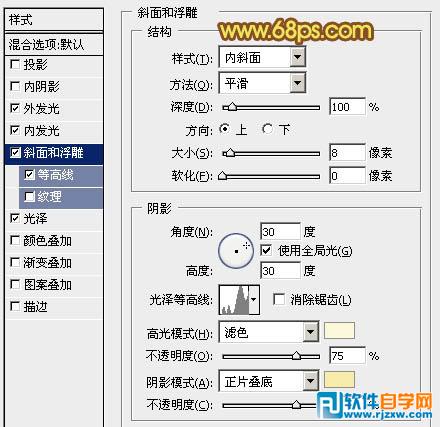
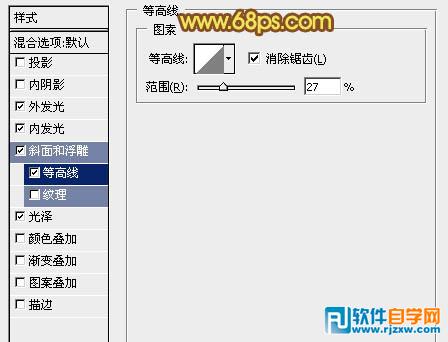
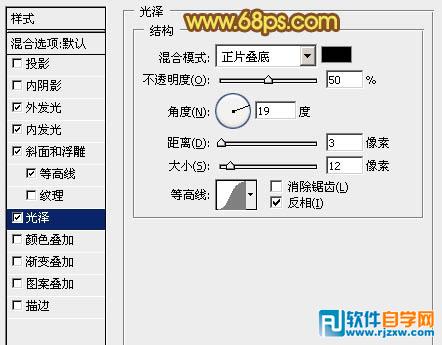
<图3> 3、双击图层面板文字缩略图调出图层样式,分别设置:投影、外发光、内发光、斜面与浮雕、等高线、光泽,参数设置如图4 - 9,效果如图10。
<图4>
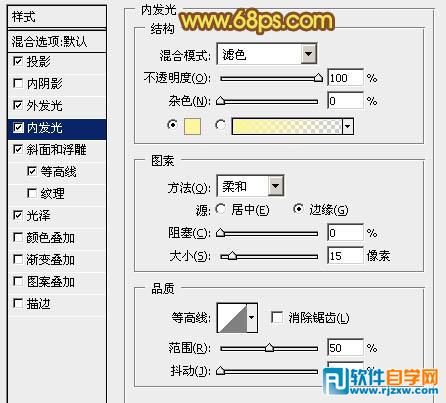
<图5>
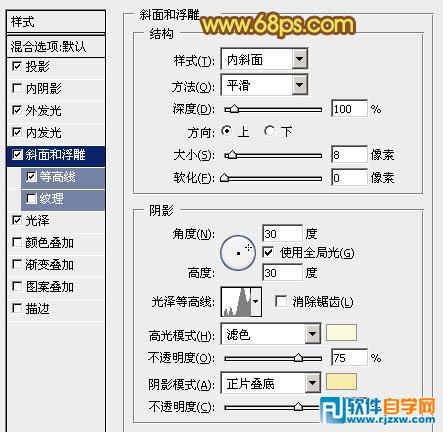
<图6>
只用一个图层样式也可以做出不错的塑料字,不过层次感不是很强。可以在文字的边框及文字中心等多添加几层,再分别设置不同的样式增强塑料的光滑度,效果会更好。
1、新建一个1000 * 600像素的文件,选择渐变工具,颜色设置如图1,由中心向边角拉出图2所示的径向渐变。
<图1>
<图2> 2、选择文字工具,把前景颜色设置为黄褐色:#9B7B0C,然后输入想要的文字,字体可以任意选择。这里用的字体为“AvantGarde MD BT”喜欢的可以去网上下载。
<图3> 3、双击图层面板文字缩略图调出图层样式,分别设置:投影、外发光、内发光、斜面与浮雕、等高线、光泽,参数设置如图4 - 9,效果如图10。
<图4>
<图5>
<图6>
只用一个图层样式也可以做出不错的塑料字,不过层次感不是很强。可以在文字的边框及文字中心等多添加几层,再分别设置不同的样式增强塑料的光滑度,效果会更好。
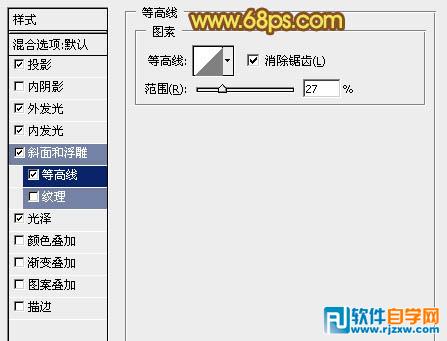
<图7>
<图8>
<图9>
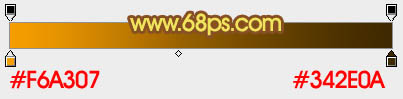
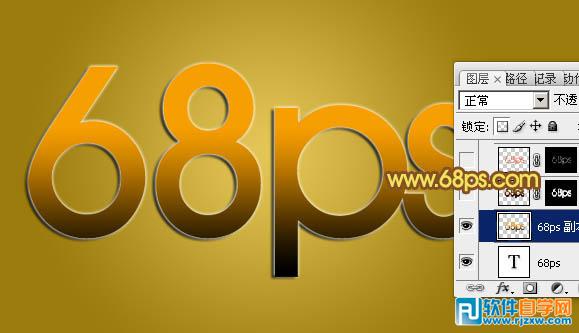
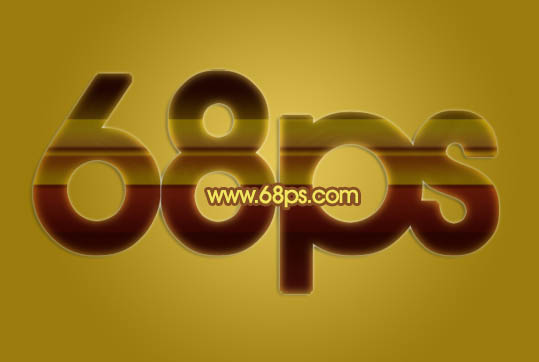
<图10> 4、按住Ctrl键点击文字缩略图调出文字选区。新建一个图层,选择渐变工具,颜色设置如图11,由上至下拉出图12所示的线性渐变。
<图11>
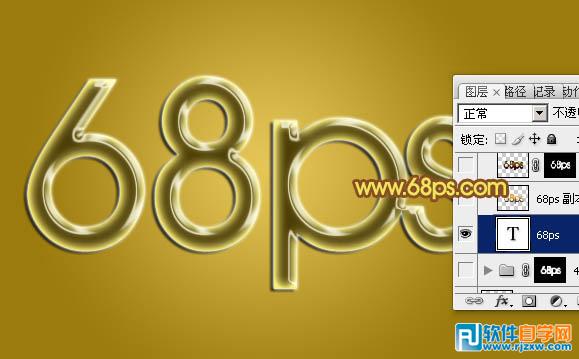
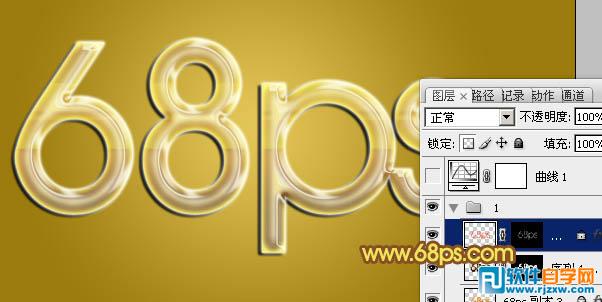
<图12> 5、复制原文字的图层样式,粘贴到渐变文字上面(方法:在原文字图层缩略图上右键选择“拷贝图层样式”,然后在渐变文字图层缩略图上右键选择“粘贴图层样式”),效果如下图。
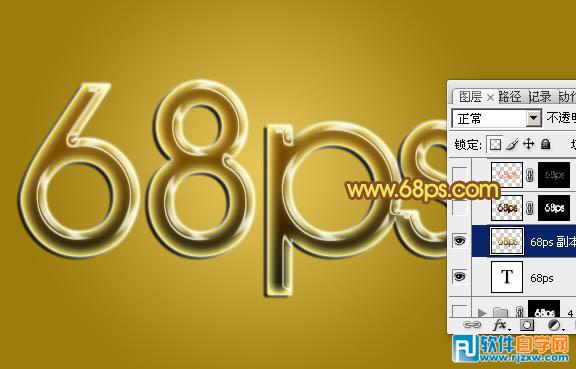
<图13> 6、再调出文字选区,选择菜单:选择 > 修改 > 扩展,数值为6,确定后新建一个图层,选择渐变工具,拉出下图所示的线性渐变。
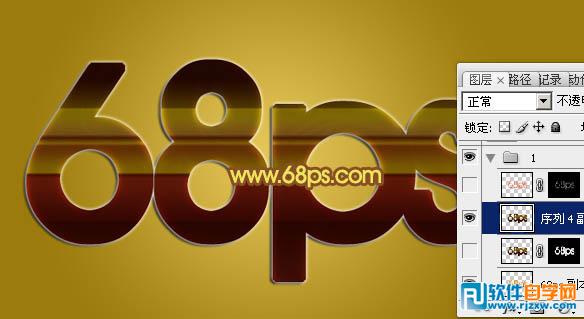
<图14>
只用一个图层样式也可以做出不错的塑料字,不过层次感不是很强。可以在文字的边框及文字中心等多添加几层,再分别设置不同的样式增强塑料的光滑度,效果会更好。
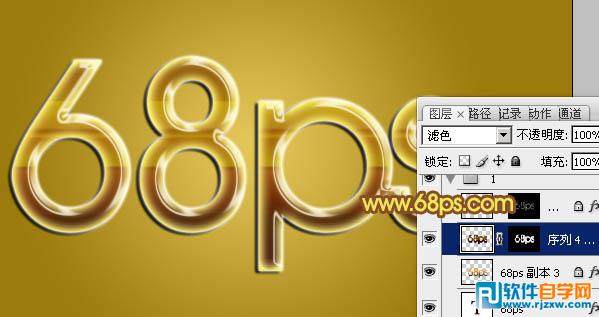
<图15> 8、调出文字选区,选择菜单:选择 > 修改 > 收缩,数值为8,羽化8个像素后在图层的最上面新建一个图层填充橙红色:#F6530B。
<图16> 9、给当前图层设置图层样式,分别设置:外发光、内发光、斜面与浮雕、等高线、光泽,参数设置如图17 - 21,确定后添加图层蒙版,用黑色画笔擦掉不需要的部分,效果如图22。
<图17>

<图18>
<图19>
<图20>
<图21>
<图22>
只用一个图层样式也可以做出不错的塑料字,不过层次感不是很强。可以在文字的边框及文字中心等多添加几层,再分别设置不同的样式增强塑料的光滑度,效果会更好。
<图23>
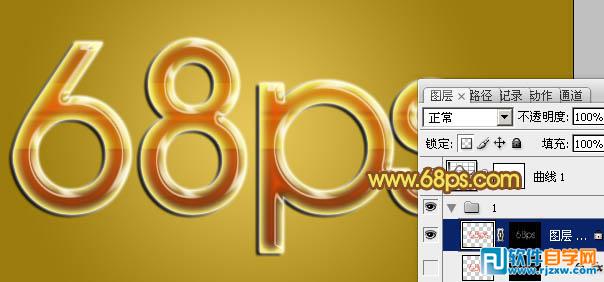
<图24> 11、再给文字添加简单的投影,效果如下图。

<图25> 最后用曲线加强一下整体对比度,完成最终效果。
标签: PS