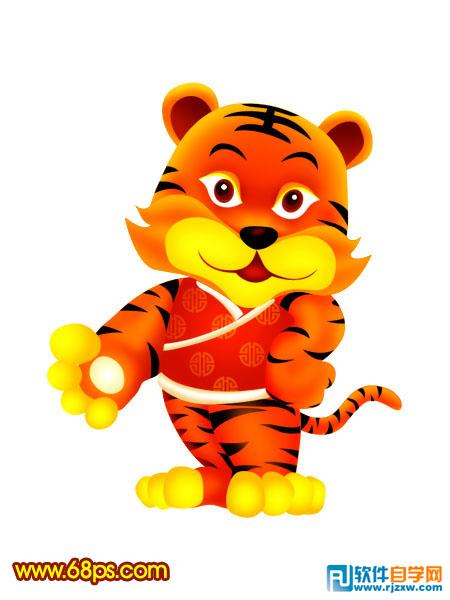
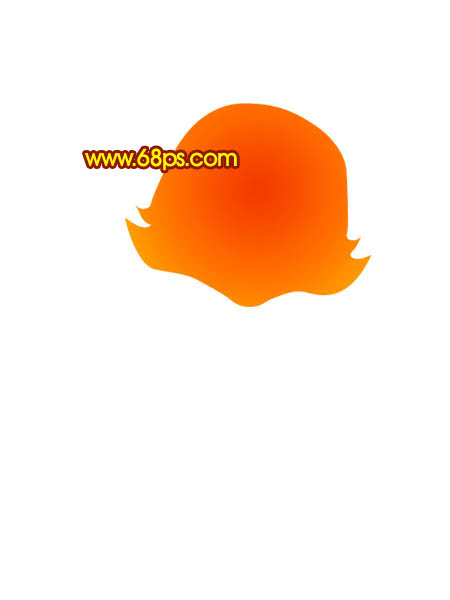
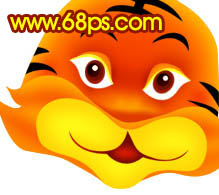
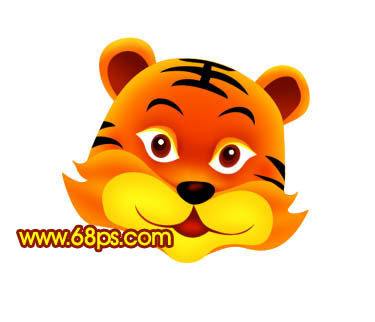
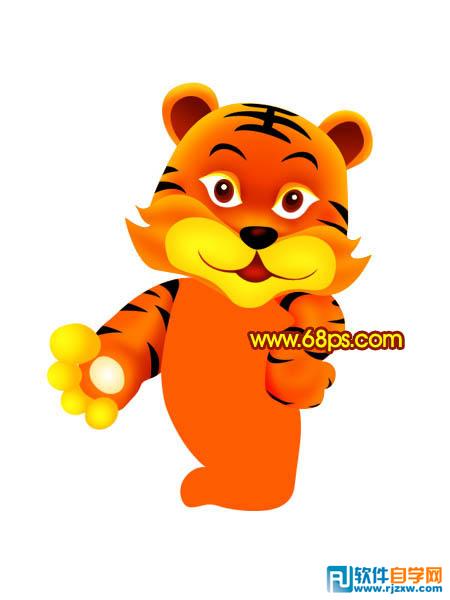
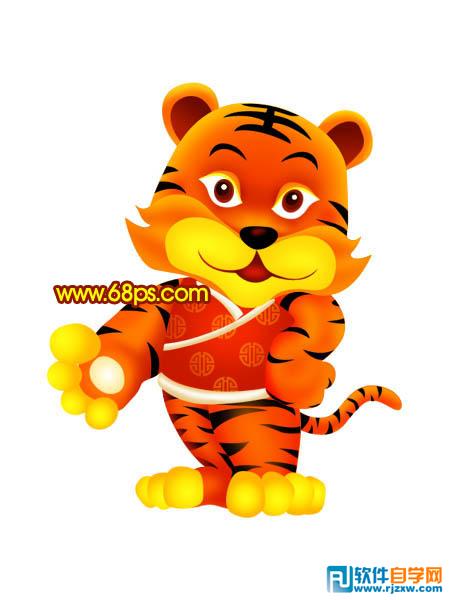
虎年已经到来,一直想找只喜庆的卡通虎来画一下。今天在网上找到了相关的素材。特意用PS画出来并写成下面的教程。希望大家能够喜欢。版权归原作者所有。 最终效果
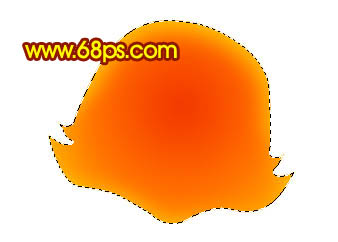
 1、新建一个600 * 800像素的文件,背景选择白色。新建一个图层,用钢笔勾出虎头部分的路径,转为选区如图1。
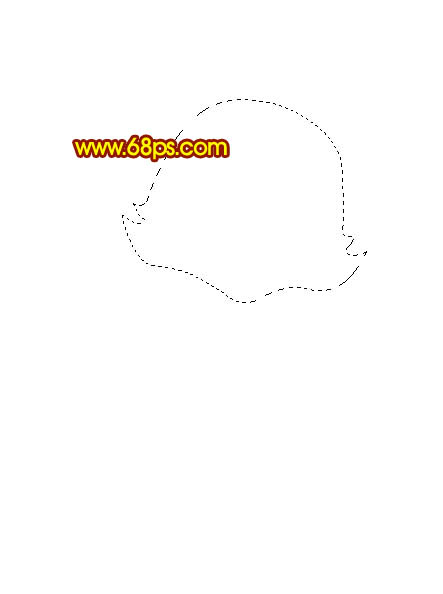
<图1>
虎年已经到来,一直想找只喜庆的卡通虎来画一下。今天在网上找到了相关的素材。特意用PS画出来并写成下面的教程。希望大家能够喜欢。版权归原作者所有。
1、新建一个600 * 800像素的文件,背景选择白色。新建一个图层,用钢笔勾出虎头部分的路径,转为选区如图1。 <图1>
虎年已经到来,一直想找只喜庆的卡通虎来画一下。今天在网上找到了相关的素材。特意用PS画出来并写成下面的教程。希望大家能够喜欢。版权归原作者所有。
<图2>
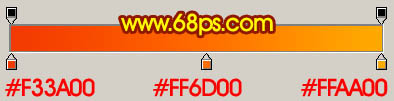
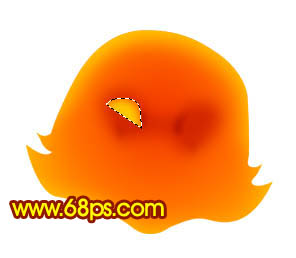
<图3> 3、锁定图层后,把前景颜色设置为:#FFBC00,选择画笔工具。画笔不透明度设置为:10%左右,然后在边缘部分涂上高光,效果如下图。
<图4>
虎年已经到来,一直想找只喜庆的卡通虎来画一下。今天在网上找到了相关的素材。特意用PS画出来并写成下面的教程。希望大家能够喜欢。版权归原作者所有。

<图5>
<图6> 5、新建一个图层,用钢笔勾出下图所示的选区,填充颜色:#FDC702,顶部边缘用画笔涂上一点红色。
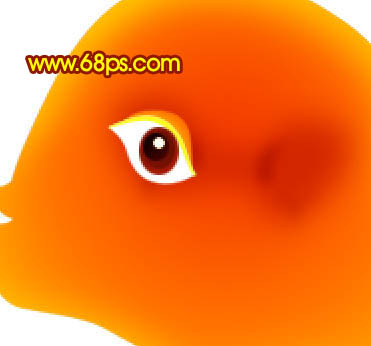
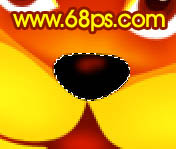
<图7> 6、新建一个图层用钢笔勾出眼睛部分的选区,填充白色。顶部稍微涂上一点黄色,效果如下图。

<图8> 7、新建一个图层,选择椭圆选框工具,拉出眼珠的选区并拉上下图所示的线性渐变色。
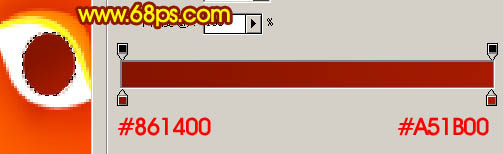
<图9>
虎年已经到来,一直想找只喜庆的卡通虎来画一下。今天在网上找到了相关的素材。特意用PS画出来并写成下面的教程。希望大家能够喜欢。版权归原作者所有。
<图10>
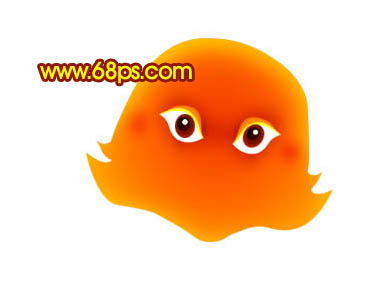
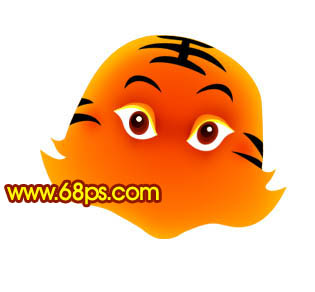
<图11> 9、新建一个图层,用钢笔勾出头部的虎纹填充黑色,效果如下图。
<图12> 10、新建一个图层,用钢笔勾出胡子部分的选区,填充颜色:#F95901,保持选区,新建一个图层,把前景颜色色设置为:#FE9B00,用画笔涂上高光部分,效果如图14。

<图13>

<图14>
虎年已经到来,一直想找只喜庆的卡通虎来画一下。今天在网上找到了相关的素材。特意用PS画出来并写成下面的教程。希望大家能够喜欢。版权归原作者所有。

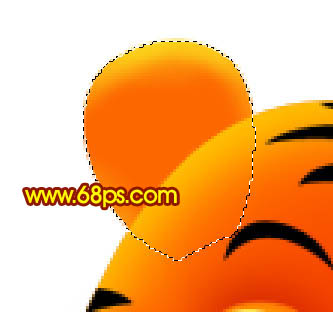
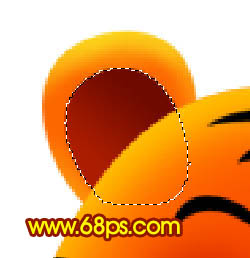
<图15> 12、用减淡工具涂出嘴部的高光,然后画出嘴巴部分,效果如下图。

<图16> 13、新建一个图层,把前景颜色设置为:#FFD004,用画笔涂出鼻子部分的高光,如图17,新建一个图层用钢笔勾出鼻子部分的选区,填充黑色,再点上黑色的高光,效果如图18。
<图17>
<图18> 14、在背景图层上面新建一个图层,用钢笔勾出耳朵部分的选区,填充颜色:#FC6700,顶部用减淡工具涂出高光,如图19,新建一个图层用钢笔勾出内耳选区拉上黑色到暗红的线性渐变,如图20。
<图19>
<图20>
虎年已经到来,一直想找只喜庆的卡通虎来画一下。今天在网上找到了相关的素材。特意用PS画出来并写成下面的教程。希望大家能够喜欢。版权归原作者所有。
<图21> 16、在背景图层上面新建一个图层,用钢笔勾出身子部分的选区,填充颜色:#FE5D02,效果如下图。
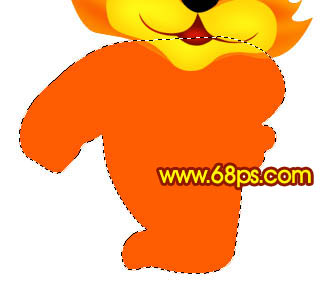
<图22> 17、锁定图层后,用钢笔勾出左手部分的选区,用加深工具涂出暗调部分。
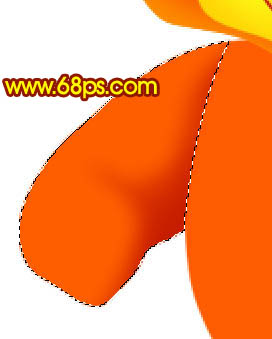
<图23> 18、用减淡工具涂出高光部分选区,并加上虎纹,效果如下图。
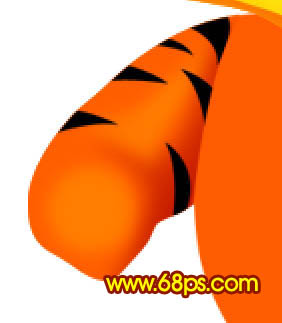
<图24> 19、手指部分用钢笔勾出选区拉上渐变色即可,效果如下图。
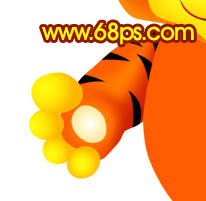
<图25>
虎年已经到来,一直想找只喜庆的卡通虎来画一下。今天在网上找到了相关的素材。特意用PS画出来并写成下面的教程。希望大家能够喜欢。版权归原作者所有。
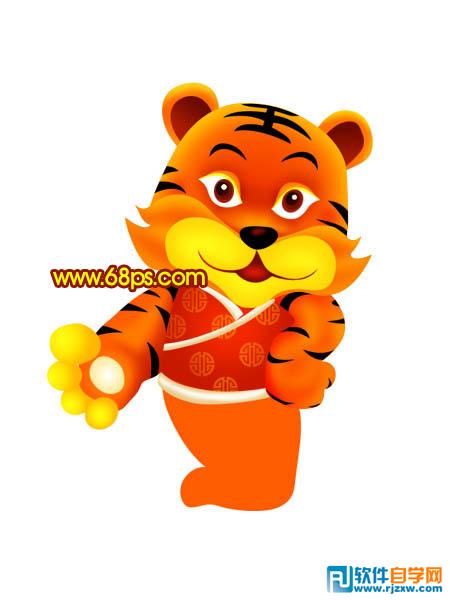
<图26> 21、同样的方法制作衣服、脚及尾巴,如图27 - 29。
<图27>
<图28>
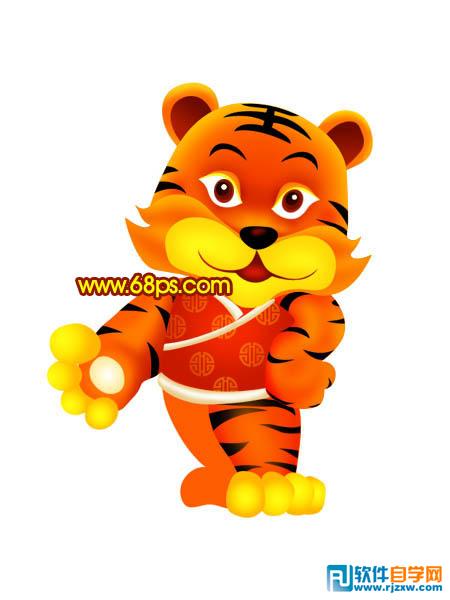
<图29> 22、最后调整下细节,完成最终效果。
<图30>
标签: PS