效果图中的立体效果是用图层样式来完成的,这个方法非常不错,也非常简单。过程:添加好一个样式后直接转为智能对象或普通图层,然后又可以再执行新的样式,可以多次重复,直到效果满意为止。那就跟我们一起来习学练习吧。 最终效果
 第一步、新建大小自定文件,使用两种蓝色(#1c80fc 以及 #1252a0)来创建线性渐变。滤镜->像素化->彩色半调(CS6是 滤镜库 素描 半调图案)。
 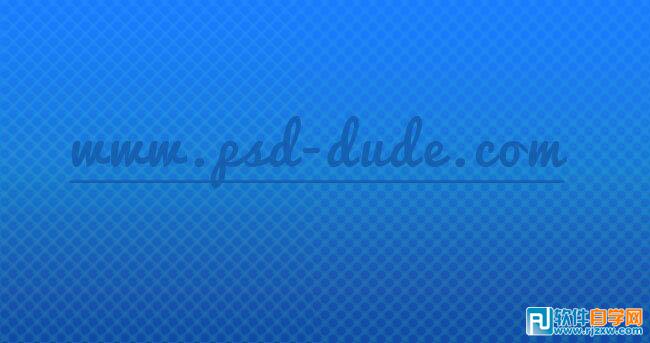 第二步、使用白色,混合模式叠加,不透明度30%。选择画笔工具,载入一个放射光笔刷,刷出下图所示效果。
效果图中的立体效果是用图层样式来完成的,这个方法非常不错,也非常简单。过程:添加好一个样式后直接转为智能对象或普通图层,然后又可以再执行新的样式,可以多次重复,直到效果满意为止。那就跟我们一起来习学练习吧。
第一步、新建大小自定文件,使用两种蓝色(#1c80fc 以及 #1252a0)来创建线性渐变。滤镜->像素化->彩色半调(CS6是 滤镜库 素描 半调图案)。 第二步、使用白色,混合模式叠加,不透明度30%。选择画笔工具,载入一个放射光笔刷,刷出下图所示效果。
效果图中的立体效果是用图层样式来完成的,这个方法非常不错,也非常简单。过程:添加好一个样式后直接转为智能对象或普通图层,然后又可以再执行新的样式,可以多次重复,直到效果满意为止。那就跟我们一起来习学练习吧。
 第四步、将文本图层转换为智能对象,按下图设置图层样式。设置内阴影
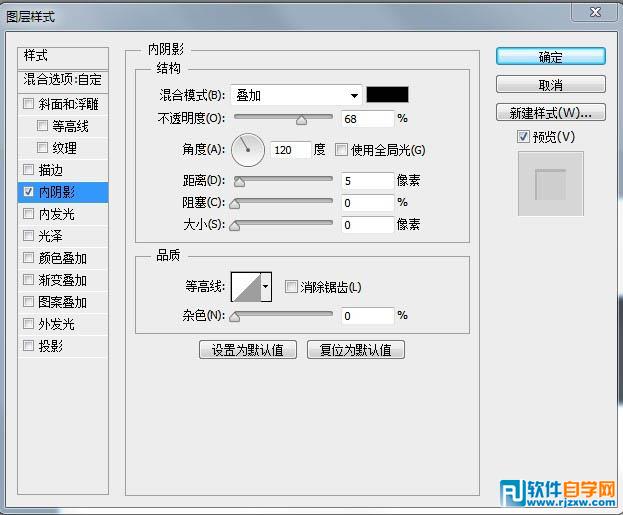
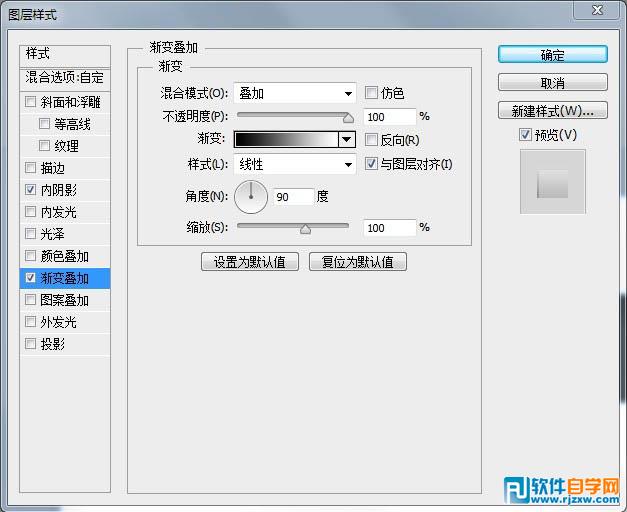
设置渐变叠加
设lfh


效果图中的立体效果是用图层样式来完成的,这个方法非常不错,也非常简单。过程:添加好一个样式后直接转为智能对象或普通图层,然后又可以再执行新的样式,可以多次重复,直到效果满意为止。那就跟我们一起来习学练习吧。
 第六步、再转换成智能对象,设置投影和描边选项。设置投影
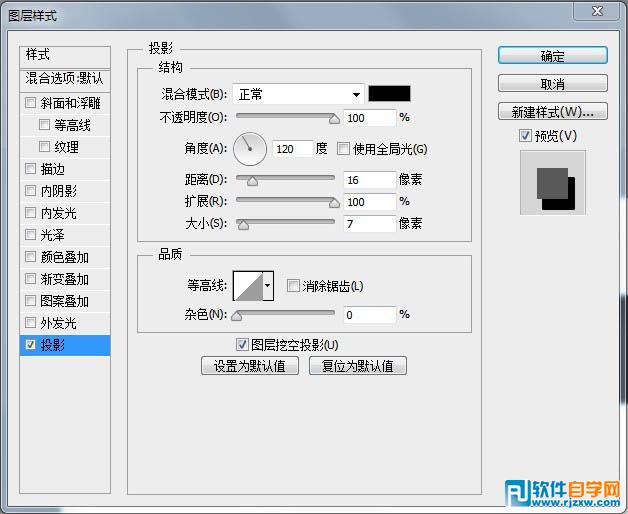
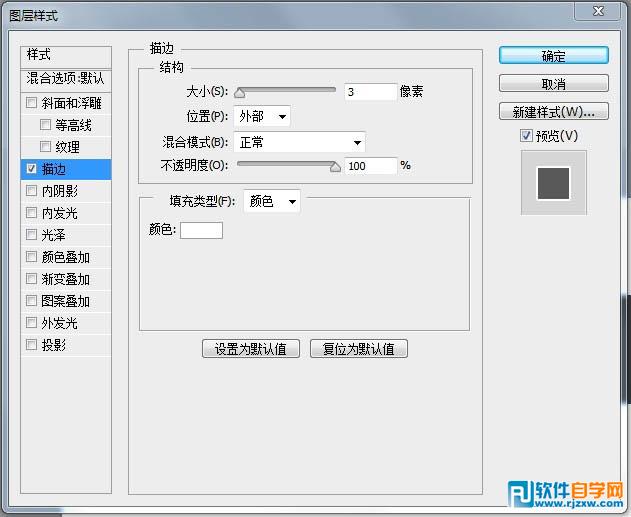
设置描边


效果图中的立体效果是用图层样式来完成的,这个方法非常不错,也非常简单。过程:添加好一个样式后直接转为智能对象或普通图层,然后又可以再执行新的样式,可以多次重复,直到效果满意为止。那就跟我们一起来习学练习吧。

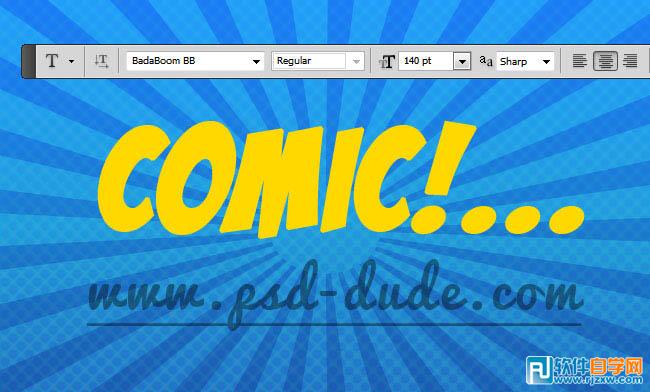
 第八步、还可以加入一点漫画风格的对话气泡。下图就是最终结果。
标签: PS