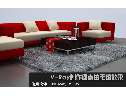
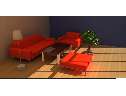
作品简介:从建模到材质渲染都有详细的介绍,同时渲染出来的场景达到了照片级别的效果,非常的棒,转发过来了。 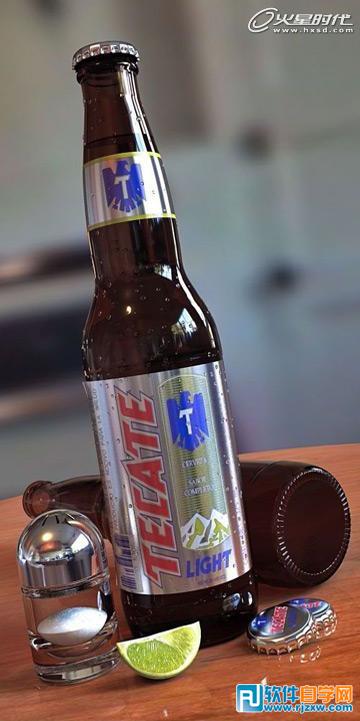
以上就是3DSMAX渲染啤酒瓶,希望大家喜欢,请继续关注QQSo站长教程网。第[1][2][3][4][5][6][7][8][9][10][11][12][13]页下一页
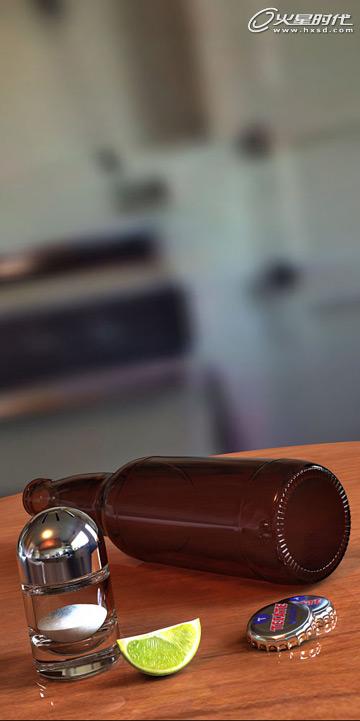
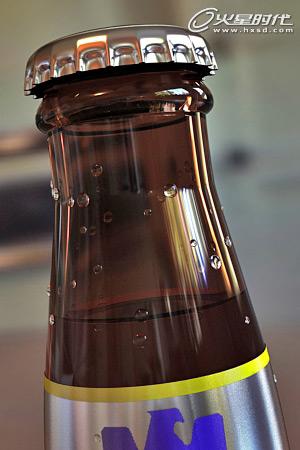
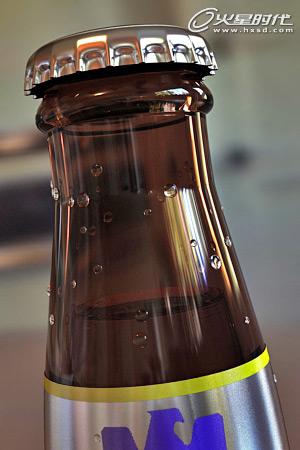
最终的效果图吧:
教程思路
1.瓶子建模
2.瓶盖建模
3.标签建模
4.柠檬建模
5.调料盒建模
6.水滴建模
7.材质
8.灯光及渲染
首先需要说明一下,想要建造一个啤酒瓶的模型,远非仅将曲线进行旋转放样那样简单。在渲染上,即使很小的细节都会影响结果的真实度。本教程将对如何得到真实的啤酒瓶模型和渲染效果的整个过程逐一进行介绍。这里使用3ds Max软件进行讲解,其中所使用的大部分技巧亦适用于其他3D软件。
具体的制作步骤如下:
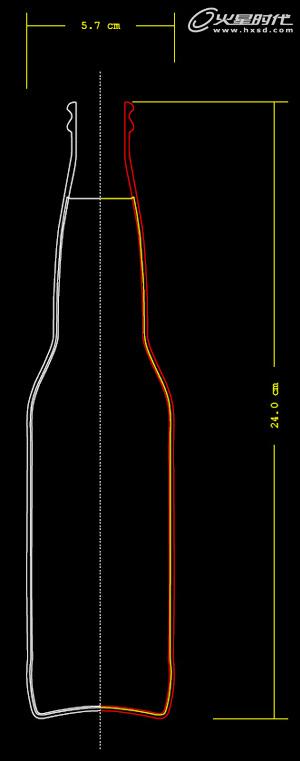
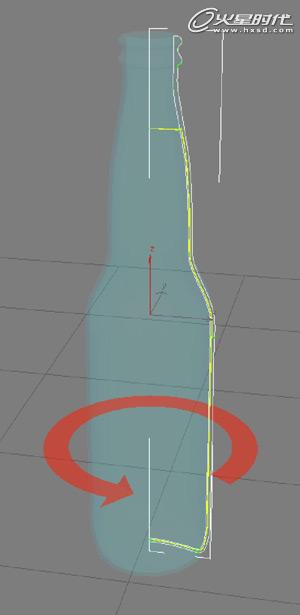
瓶子建模
首先,塑造瓶子和液体(啤酒)的形状曲线,可以使用下图进行参考。开始阶段不需要将曲线设定为闭合,因为进行放样后,曲线两端会自动闭合。
为玻璃赋予厚度,用于得到正确的反射和折射,以及透明液体的综合效果。
标签: 3DMAX室内设计