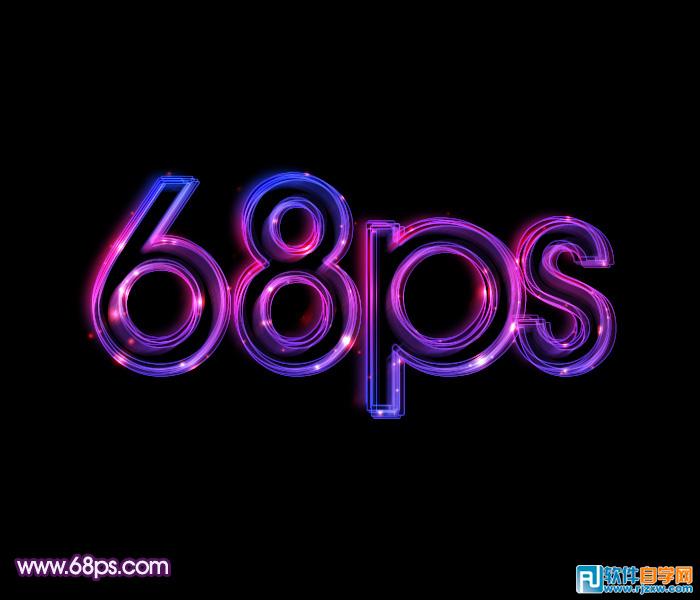
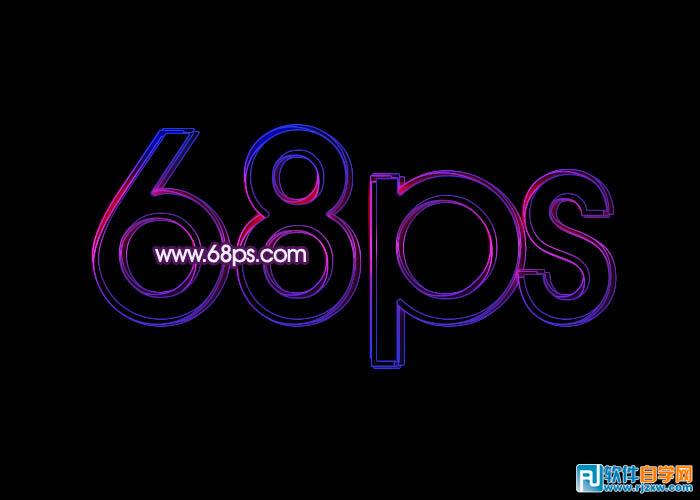
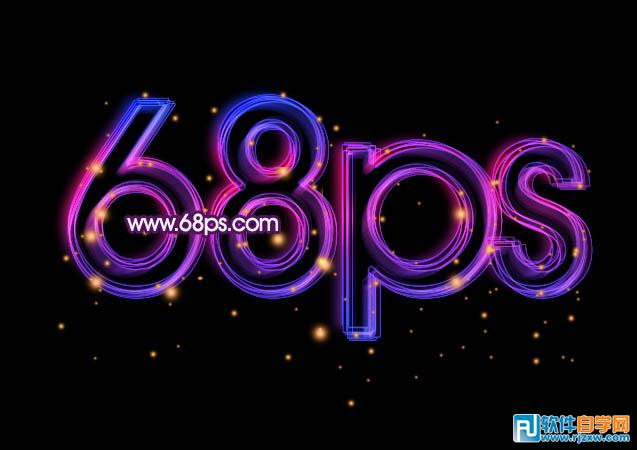
光丝文字制作方法有很多,重用的是把文字的边线调出来并拉上彩色渐变,底部再加上淡淡的发光效果。然后不断的复制及错位排列做出梦幻的效果,后期根据需要添加一些装饰元素即可。 最终效果
 1、新建一个800 * 600像素的文档,背景填充黑色。选择文字工具,打上想要的文字,字体颜色用黑色。为了便于参照下面的文字改为橙色。所选字体是英文字体:AvantGarde MD BT。喜欢的可以去网上下载。
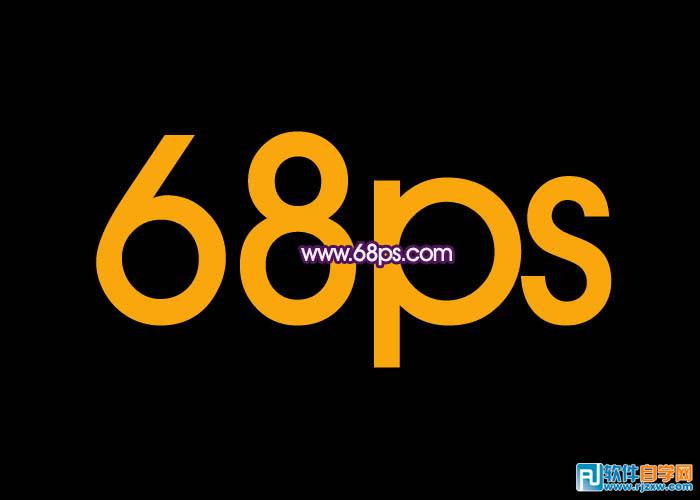
<图1> 2、双击图层面板,文字缩略图调出图层样式。先来设置外发光:不透明度设为:100%,大小设置为2,具体参数设置如图2。里面的渐变设置如图3。
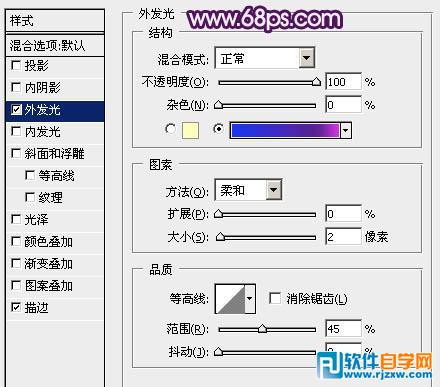
<图2>
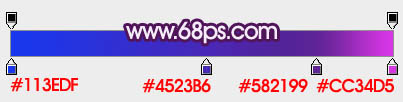
<图3>
光丝文字制作方法有很多,重用的是把文字的边线调出来并拉上彩色渐变,底部再加上淡淡的发光效果。然后不断的复制及错位排列做出梦幻的效果,后期根据需要添加一些装饰元素即可。
1、新建一个800 * 600像素的文档,背景填充黑色。选择文字工具,打上想要的文字,字体颜色用黑色。为了便于参照下面的文字改为橙色。所选字体是英文字体:AvantGarde MD BT。喜欢的可以去网上下载。 <图1> 2、双击图层面板,文字缩略图调出图层样式。先来设置外发光:不透明度设为:100%,大小设置为2,具体参数设置如图2。里面的渐变设置如图3。
<图2>
<图3>
光丝文字制作方法有很多,重用的是把文字的边线调出来并拉上彩色渐变,底部再加上淡淡的发光效果。然后不断的复制及错位排列做出梦幻的效果,后期根据需要添加一些装饰元素即可。
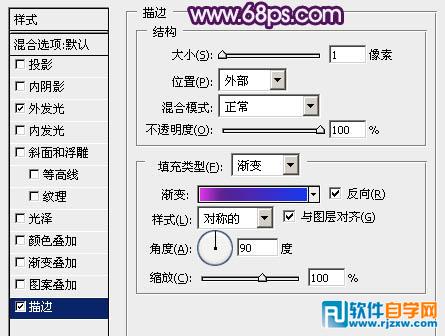
<图4>
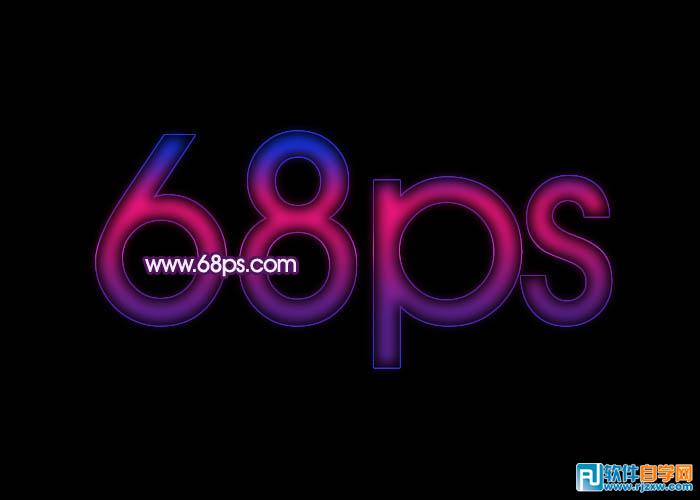
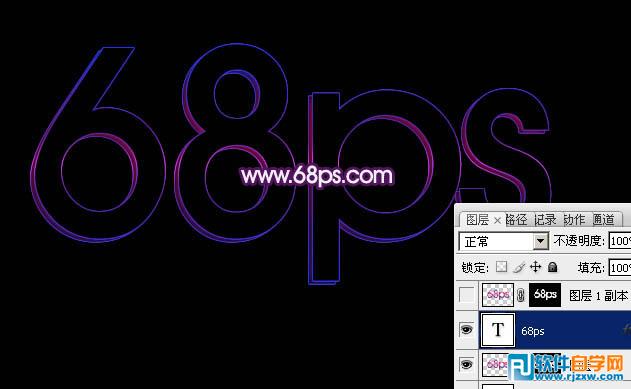
<图5> 4、添加图层样式后的效果如下图。只看到了文字的边线,这正是我们所需要的。
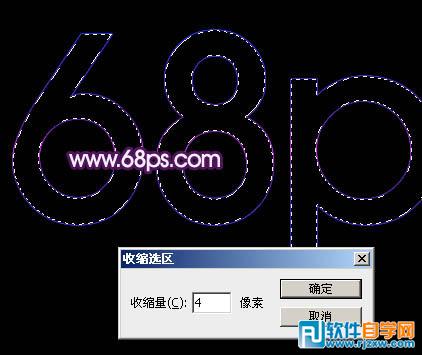
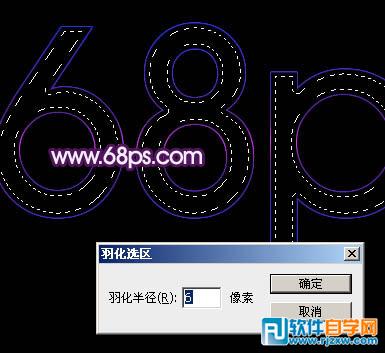
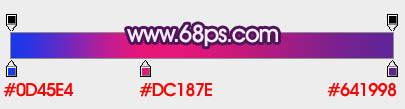
<图6> 5、调出文字选区,选择菜单:选择 > 修改 > 收缩,数值为4,确定后按Ctrl + Alt + D 羽化6个像素如图8。然后新建一个图层,选择渐变工具,颜色设置如图9,由上至下拉出图10所示的线性渐变。
<图7>
<图8>
<图9>
<图10>
光丝文字制作方法有很多,重用的是把文字的边线调出来并拉上彩色渐变,底部再加上淡淡的发光效果。然后不断的复制及错位排列做出梦幻的效果,后期根据需要添加一些装饰元素即可。
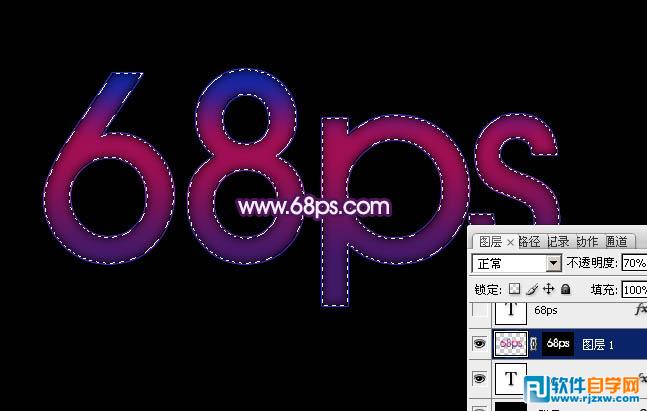
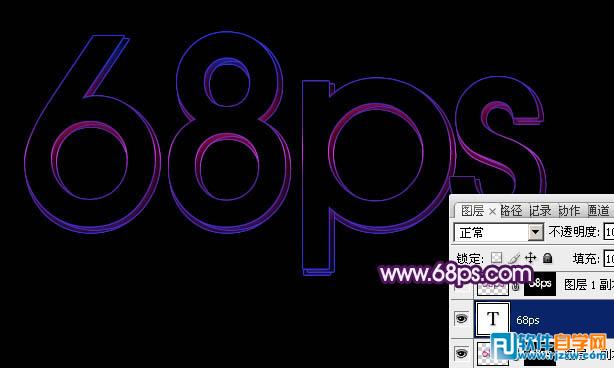
<图11> 8、调出文字选区,回到渐变图层,直接添加图层蒙版。再把图层不透明度改为:70%,效果如下图。这一步是控制渐变的区域,不要超多底部文字。
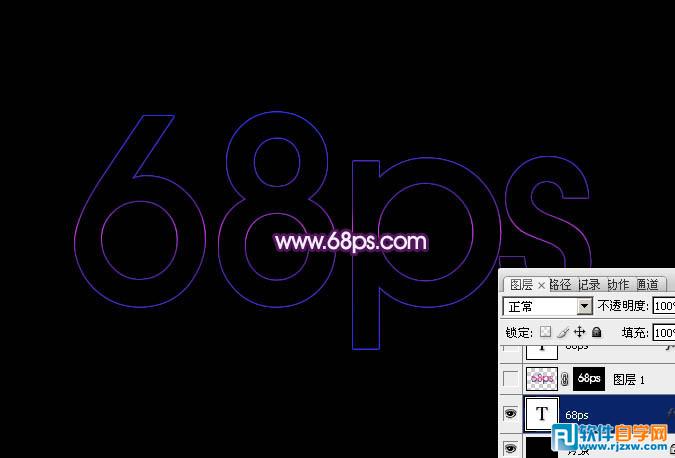
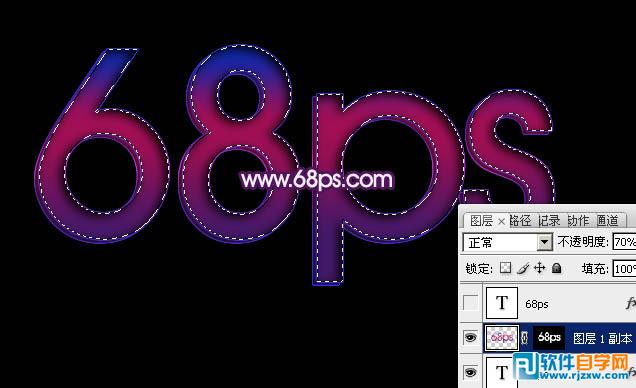
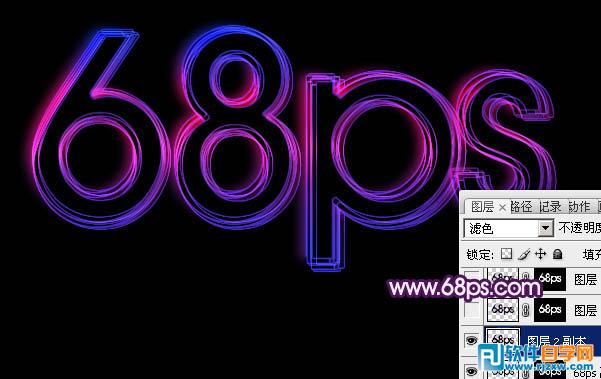
<图12> 9、把文字图层复制一层,按Ctrl + Shift + ] 置顶,稍微移动几个像素,效果如下图。
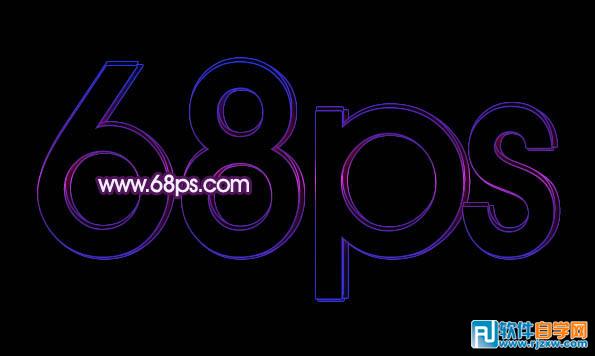
<图13> 10、把渐变图层复制一层,按Ctrl + Shift + ] 置顶,删除蒙版后调出底部文字选区,再重新添加图层蒙版,如下图。
<图14>
光丝文字制作方法有很多,重用的是把文字的边线调出来并拉上彩色渐变,底部再加上淡淡的发光效果。然后不断的复制及错位排列做出梦幻的效果,后期根据需要添加一些装饰元素即可。
<图15>
<图16>
<图17>
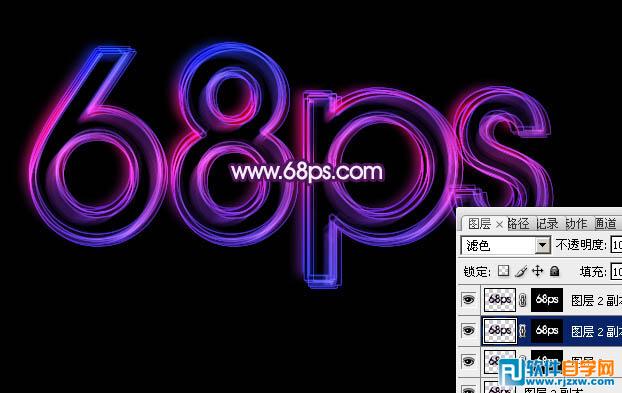
<图18> 12、把背景图层影藏。在图层的最上面新建一个图层,按Ctrl + Alt + Shift + E 盖印图层。确定后执行:滤镜 > 模糊 > 动感模糊,角度为45度,距离为10。确定后把图层混合模式改为“滤色”,把背景显示出来,效果如下图。这一步加强文字的光感。
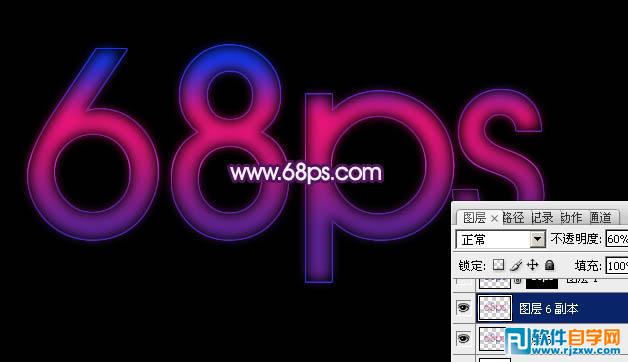
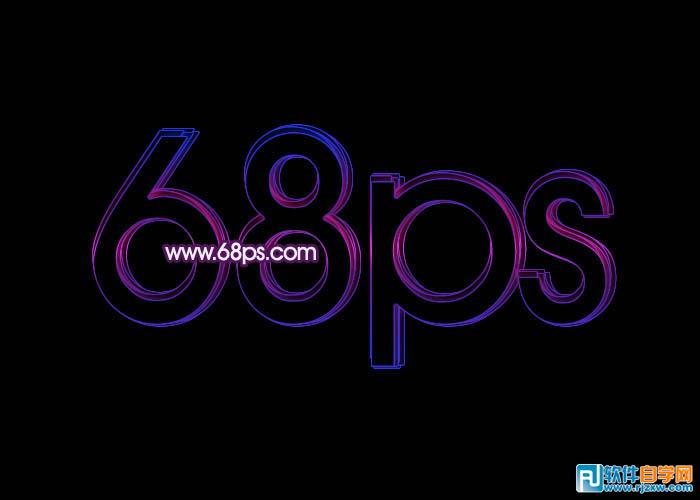
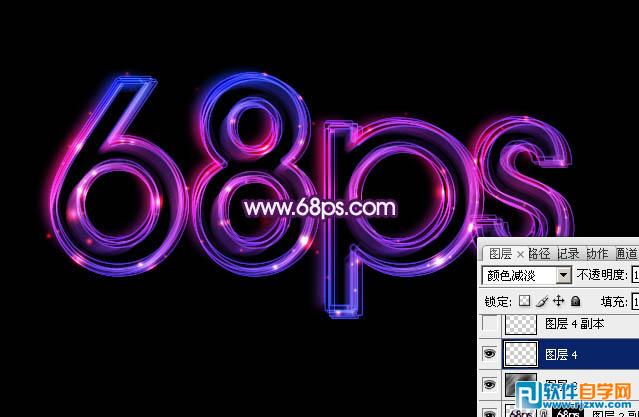
<图19> 13、根据需要可以复制图层加强光感,自己满意为止。
<图20>
光丝文字制作方法有很多,重用的是把文字的边线调出来并拉上彩色渐变,底部再加上淡淡的发光效果。然后不断的复制及错位排列做出梦幻的效果,后期根据需要添加一些装饰元素即可。
<图21>
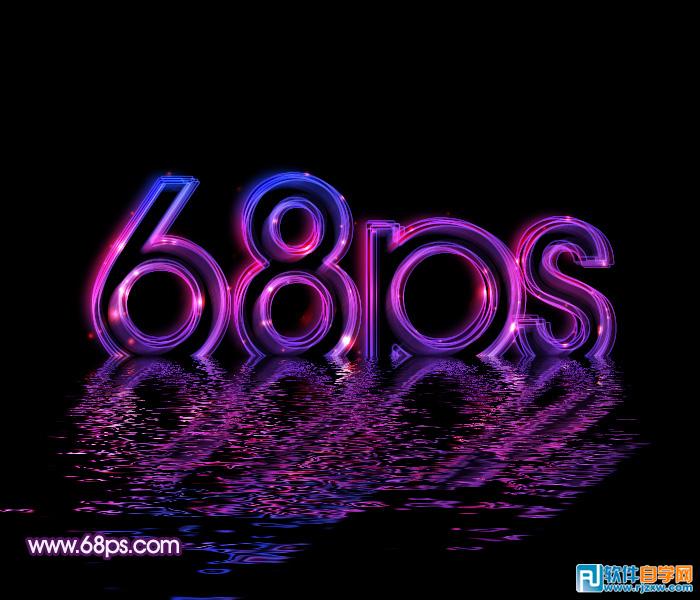
<图22> 最后可以根据自己的喜好用水之语滤镜加上水纹,完成最终效果。
标签: PS