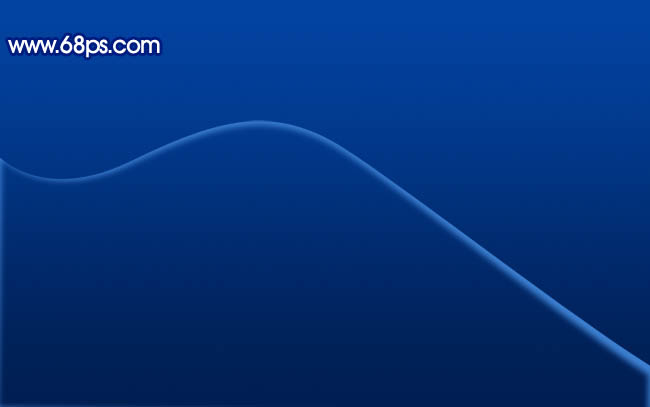
效果图画面构成并不复杂。不过制作起来就比较费时。因为光束都是由一些非常细小的曲线构成,每一条曲线都需要用钢笔工具勾出来,还需要把握好曲线的弧度,要做到自然优美。制作的时候需要保持耐心。 最终效果

<点小图查看大图> 1、新建一个壁纸大小的画布如:1024 * 768像素。选择渐变工具颜色设置如图1,由上至下拉出图2所示的线性渐变。
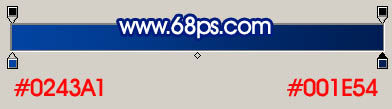
<图1>

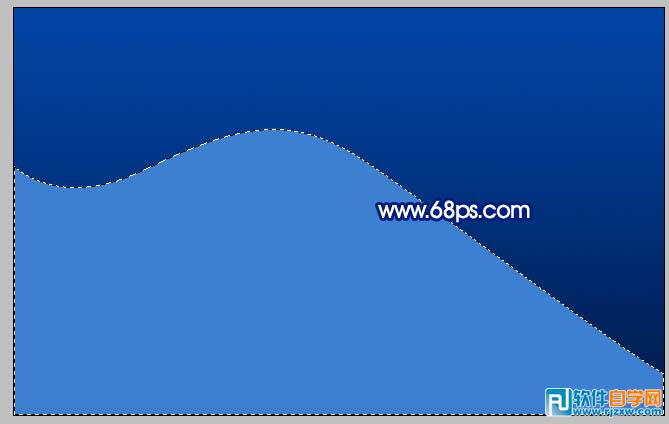
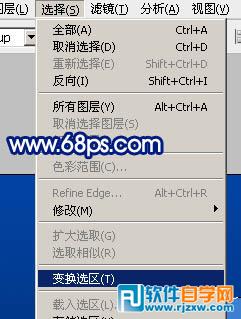
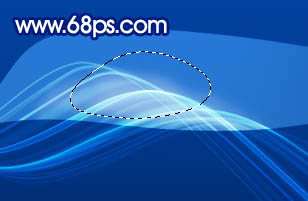
<图2> 2、新建一个图层,用钢笔工具勾出图3所示的选区填充颜色:#3D80D1,填色后不要取消选区,选择菜单:选择 > 变换选区,如图4。
<图3>
<图4>
效果图画面构成并不复杂。不过制作起来就比较费时。因为光束都是由一些非常细小的曲线构成,每一条曲线都需要用钢笔工具勾出来,还需要把握好曲线的弧度,要做到自然优美。制作的时候需要保持耐心。
<点小图查看大图> 1、新建一个壁纸大小的画布如:1024 * 768像素。选择渐变工具颜色设置如图1,由上至下拉出图2所示的线性渐变。
<图1>
<图2> 2、新建一个图层,用钢笔工具勾出图3所示的选区填充颜色:#3D80D1,填色后不要取消选区,选择菜单:选择 > 变换选区,如图4。
<图3>
<图4>
效果图画面构成并不复杂。不过制作起来就比较费时。因为光束都是由一些非常细小的曲线构成,每一条曲线都需要用钢笔工具勾出来,还需要把握好曲线的弧度,要做到自然优美。制作的时候需要保持耐心。

<图5>

<图6>
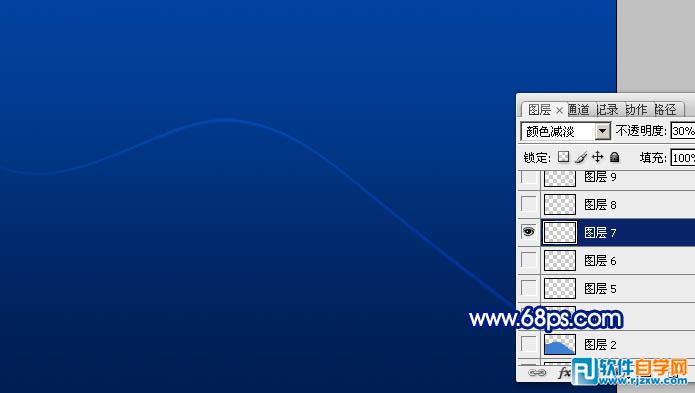
<图7>
<图8>
效果图画面构成并不复杂。不过制作起来就比较费时。因为光束都是由一些非常细小的曲线构成,每一条曲线都需要用钢笔工具勾出来,还需要把握好曲线的弧度,要做到自然优美。制作的时候需要保持耐心。

<图9> 5、同上的方法制作更多的曲线,适当控制好曲线的不透明度,如图10 - 12。

<图10>

<图11>

<图12>
效果图画面构成并不复杂。不过制作起来就比较费时。因为光束都是由一些非常细小的曲线构成,每一条曲线都需要用钢笔工具勾出来,还需要把握好曲线的弧度,要做到自然优美。制作的时候需要保持耐心。
<图13>
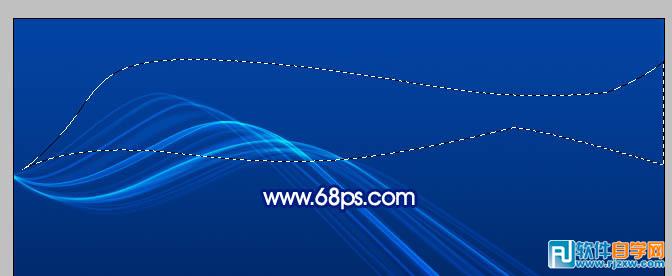
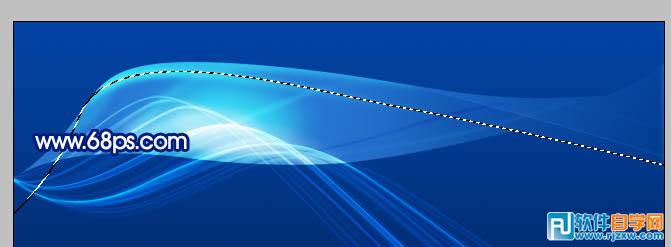
<图14> 7、新建一个图层,选择画笔工具,把前景颜色设置为白色,把图15所示的选区部分涂上淡淡的白色,效果如图16。

<图15>

<图16>
效果图画面构成并不复杂。不过制作起来就比较费时。因为光束都是由一些非常细小的曲线构成,每一条曲线都需要用钢笔工具勾出来,还需要把握好曲线的弧度,要做到自然优美。制作的时候需要保持耐心。
<图17>

<图18> 9、新建一个图层,用钢笔勾出图19所示的选区羽化3个像素后填充颜色:#44A0FC,图层混合模式改为“颜色减淡”,效果如图20。

<图19>

<图20>
效果图画面构成并不复杂。不过制作起来就比较费时。因为光束都是由一些非常细小的曲线构成,每一条曲线都需要用钢笔工具勾出来,还需要把握好曲线的弧度,要做到自然优美。制作的时候需要保持耐心。

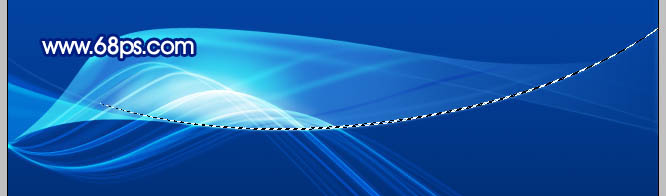
<图21> 11、新建一个图层,用钢笔勾出图22所示的选区填充白色,图层不透明度改为:10%,效果如图23。

<图22>

<图23>
效果图画面构成并不复杂。不过制作起来就比较费时。因为光束都是由一些非常细小的曲线构成,每一条曲线都需要用钢笔工具勾出来,还需要把握好曲线的弧度,要做到自然优美。制作的时候需要保持耐心。
<图24>

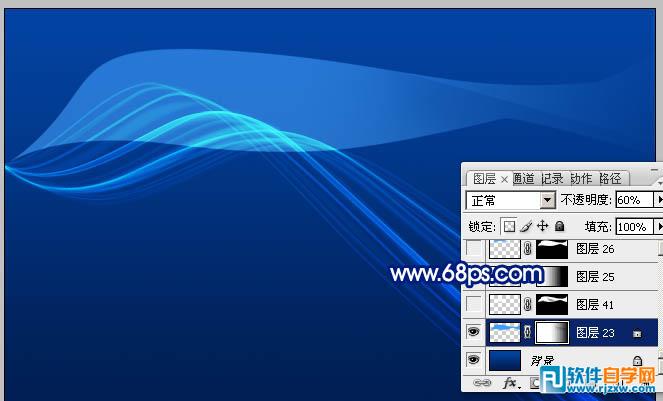
<图25> 13、新建一个图层,用钢笔勾出图26所示的选区,填充颜色:#3F9EFC,图层混合模式改为“颜色减淡”,图层不透明度改为:60%,效果如下图。
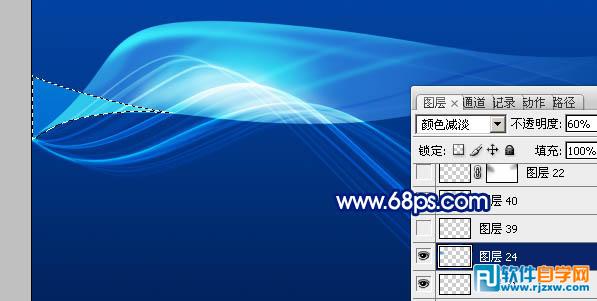
<图26>
效果图画面构成并不复杂。不过制作起来就比较费时。因为光束都是由一些非常细小的曲线构成,每一条曲线都需要用钢笔工具勾出来,还需要把握好曲线的弧度,要做到自然优美。制作的时候需要保持耐心。
<图27>

<图28> 15、新建一个图层,选择椭圆选框工具,按住Shift键拉一个正圆选区羽化5个像素后填充白色,再把图层不透明度改为:80%,如图29。同样的方法制作更多的小圆,如图30。

<图29>

<图30>
效果图画面构成并不复杂。不过制作起来就比较费时。因为光束都是由一些非常细小的曲线构成,每一条曲线都需要用钢笔工具勾出来,还需要把握好曲线的弧度,要做到自然优美。制作的时候需要保持耐心。
<图31>

<图32> 17、最后调整下细节,完成最终效果。