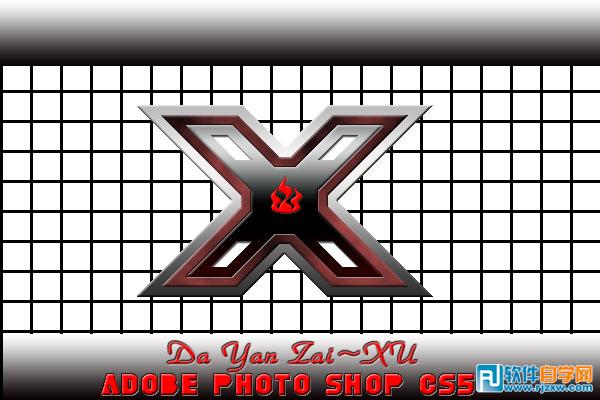
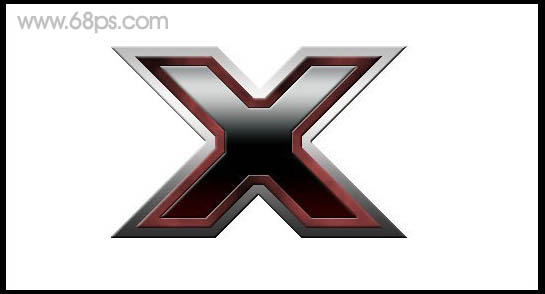
本教程的字体效果的层次感非常强。制作的时候需要控制好选区,把文字或图形的选区逐渐减少后填色,再添加图层样式及颜色等,做出层次感。 最终效果1
 最终效果2
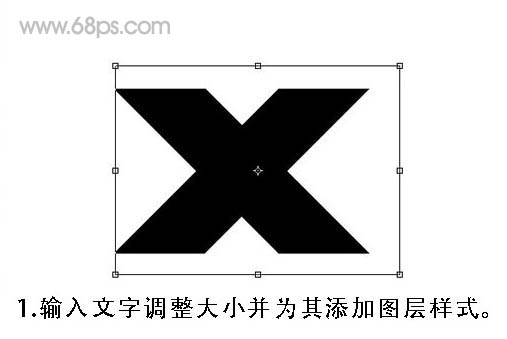
最终效果2 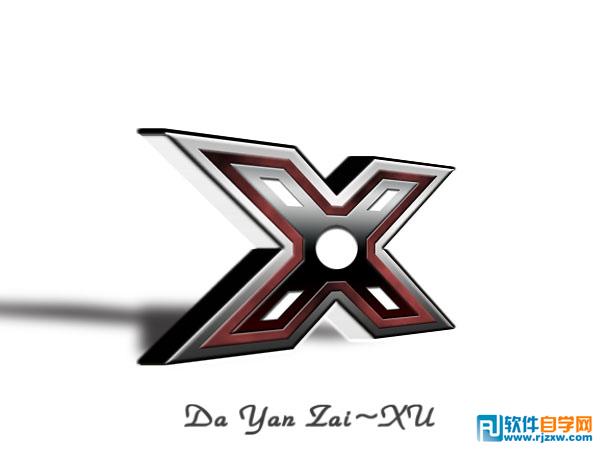 1、新建一个600 * 400分辨率为300像素的文档,背景选择白色。确定后选择文字工具打上黑色文字,如下图。
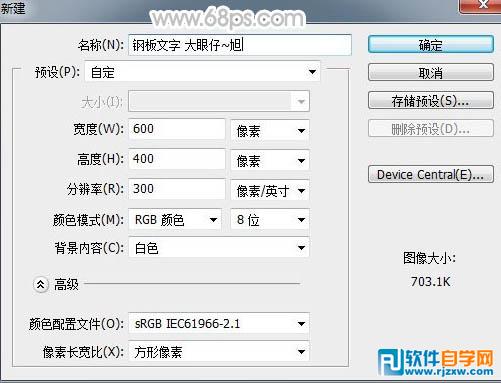
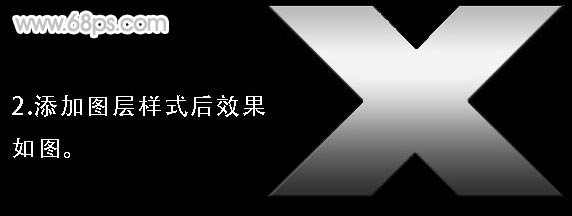
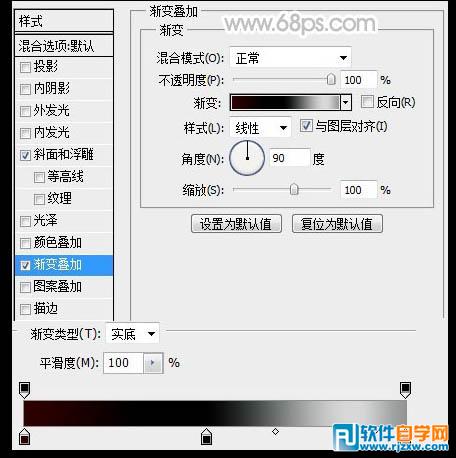
 2、给文字添加图层样式,选择斜面与浮雕及渐变叠加,参数及效果如下图。
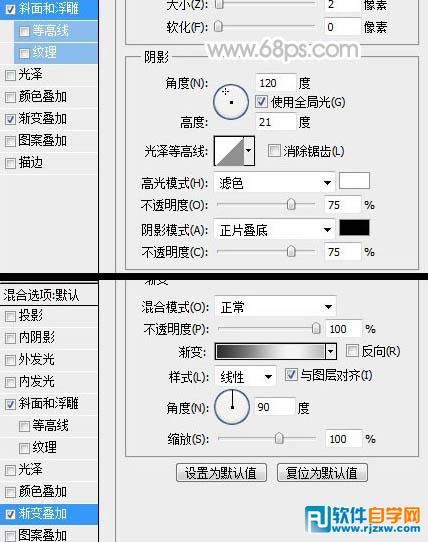
本教程的字体效果的层次感非常强。制作的时候需要控制好选区,把文字或图形的选区逐渐减少后填色,再添加图层样式及颜色等,做出层次感。
最终效果2 1、新建一个600 * 400分辨率为300像素的文档,背景选择白色。确定后选择文字工具打上黑色文字,如下图。 2、给文字添加图层样式,选择斜面与浮雕及渐变叠加,参数及效果如下图。
本教程的字体效果的层次感非常强。制作的时候需要控制好选区,把文字或图形的选区逐渐减少后填色,再添加图层样式及颜色等,做出层次感。
 4、保持选区不动,填充白色。执行:滤镜 > 渲染 > 分层云彩,确定后多执行几次,调成想要的效果。
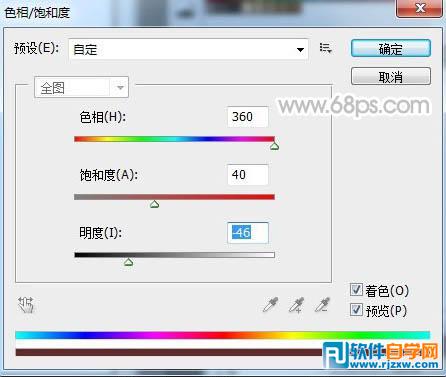
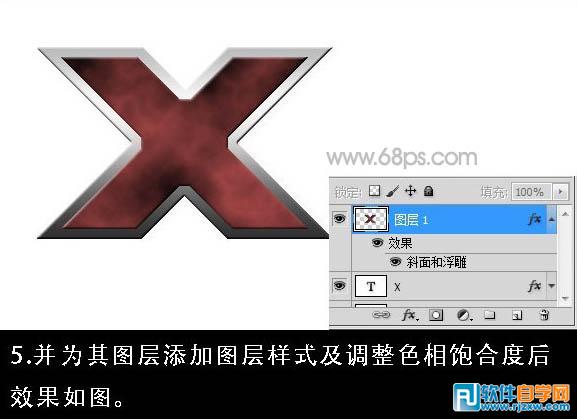
 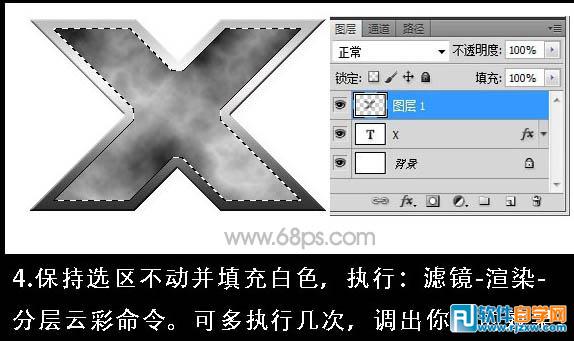 5、给当前图层添加图层样式,选择斜面和浮雕,参数设置如下图。确定后按Ctrl + U 调整色相/饱和度,参数如下图,勾选“着色”选项。
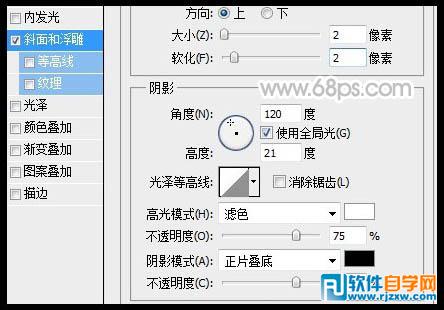
本教程的字体效果的层次感非常强。制作的时候需要控制好选区,把文字或图形的选区逐渐减少后填色,再添加图层样式及颜色等,做出层次感。
6、调成文字选区,新建一个图层。选择菜单:选择 > 修改 > 收缩,数值为20,确定后填充白色。

给当前图层设置图层样式,选择渐变叠加,参数及效果如下图。
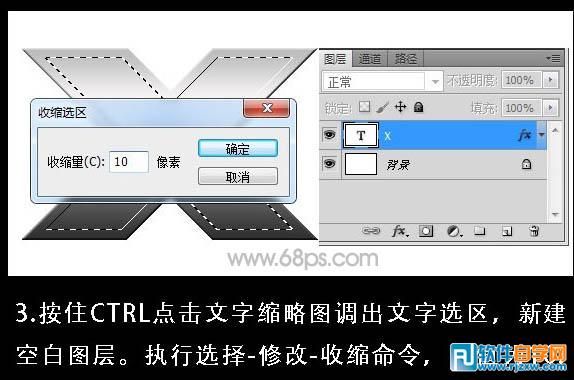
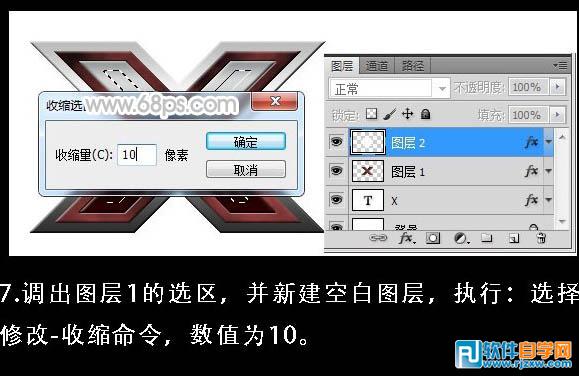
 7、调成“图层1”的选区,新建一个图层,执行:选择 > 修改 > 收缩,数值为10,如下图。
8、使用矩形选框工具拉出不需要的部分,选择“从选区中减去”,并填充白色。
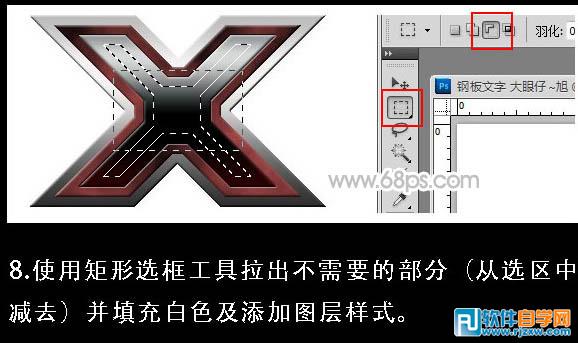
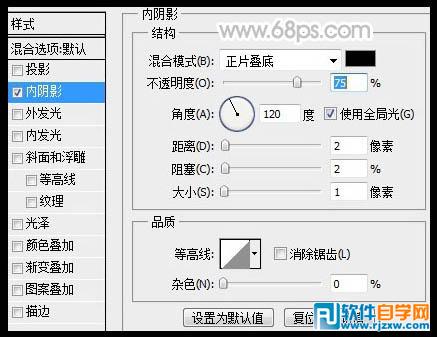
给当前图层添加图层样式,选择内阴影,参数及效果如下图。
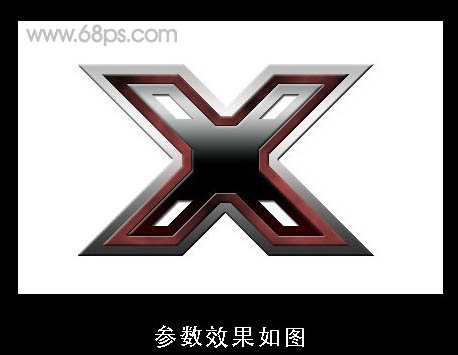
本教程的字体效果的层次感非常强。制作的时候需要控制好选区,把文字或图形的选区逐渐减少后填色,再添加图层样式及颜色等,做出层次感。
 给火焰添加图层样式,选择斜面和浮雕,参数设置如下图。
 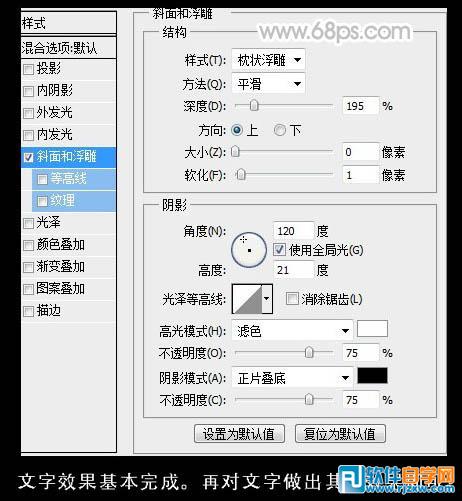 最后加上背景,完成最终效果。也可以适当变形做出立体效果。