单一一条光束并不是很起眼,如果是一组边缘透明度的光束,每条形态不同,颜色也有很多变化,并有序的组合在一起,整体效果就会漂亮很多。 最终效果
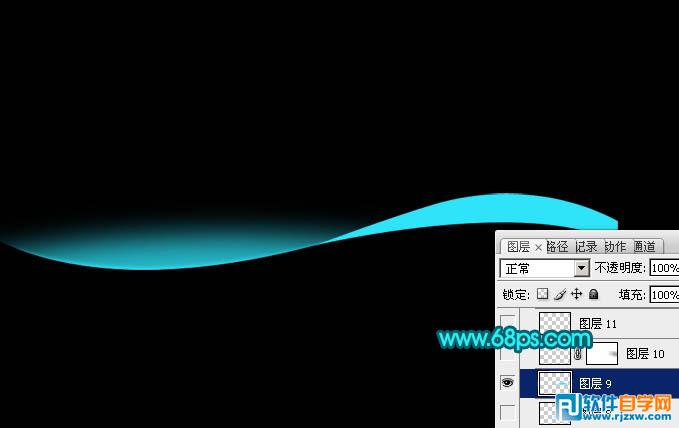
 1、新建一个壁纸大小的文档,这里选择的是:1024 * 768。背景填充黑色。新建一个组,在组里新建一个图层,用钢笔勾出下图所示的选区填充青色。
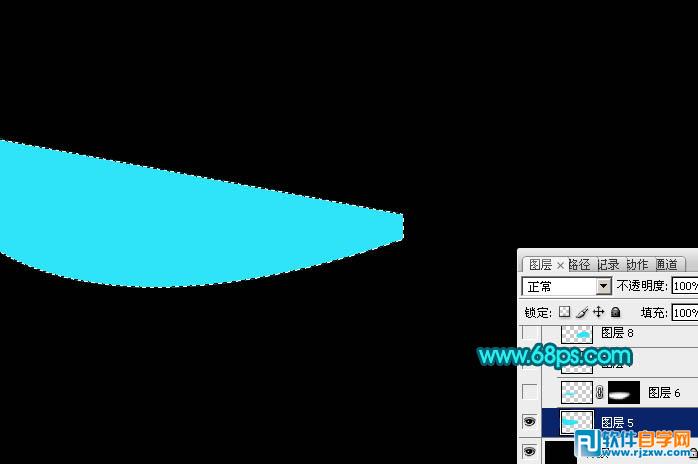
<图1>
单一一条光束并不是很起眼,如果是一组边缘透明度的光束,每条形态不同,颜色也有很多变化,并有序的组合在一起,整体效果就会漂亮很多。
1、新建一个壁纸大小的文档,这里选择的是:1024 * 768。背景填充黑色。新建一个组,在组里新建一个图层,用钢笔勾出下图所示的选区填充青色。 <图1>
单一一条光束并不是很起眼,如果是一组边缘透明度的光束,每条形态不同,颜色也有很多变化,并有序的组合在一起,整体效果就会漂亮很多。
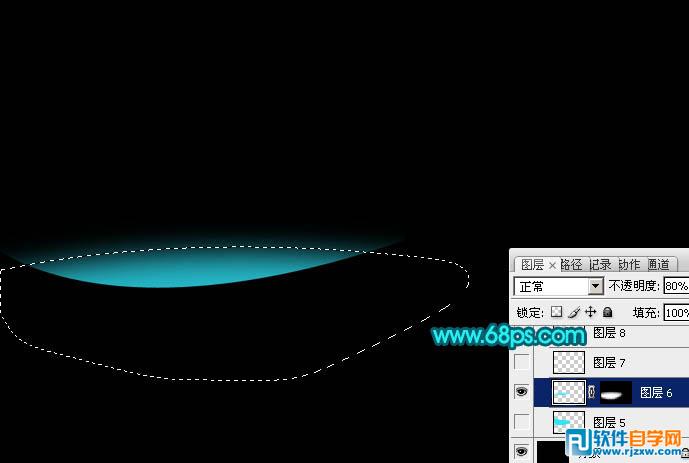
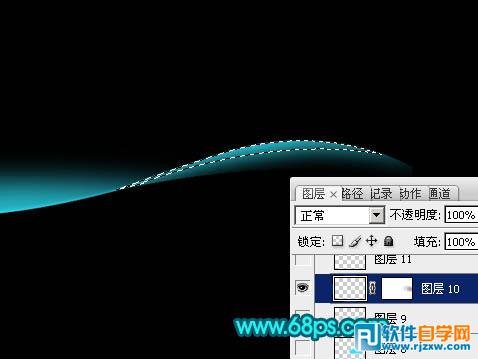
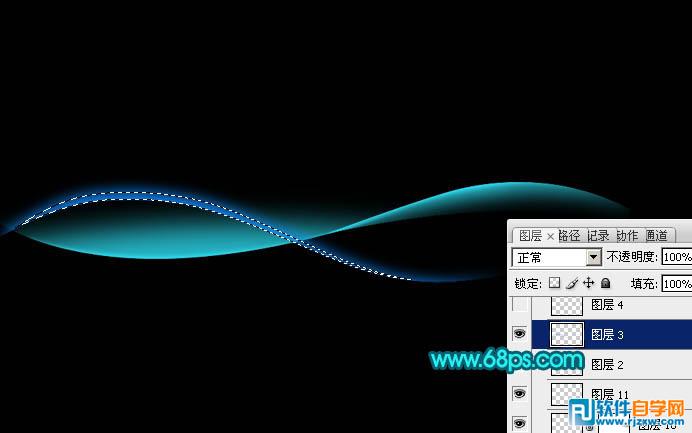
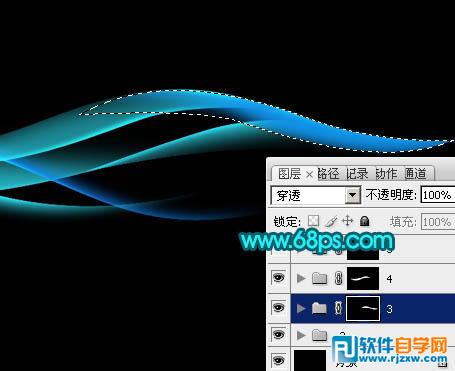
<图2> 3、用钢笔勾出边缘的高光选区,羽化2个像素后按Ctrl + J 复制到新的图层,不透明度改为:100%,如下图。
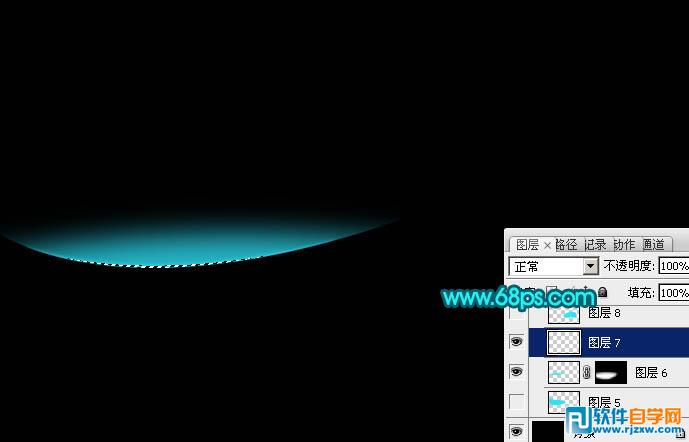
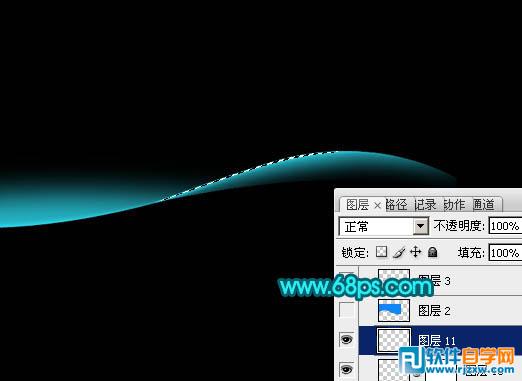
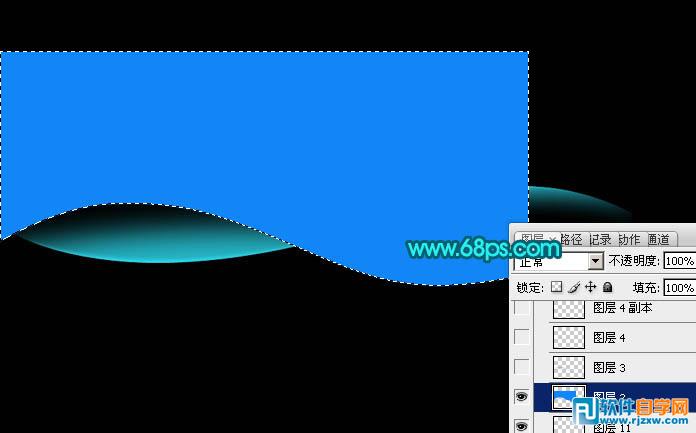
<图3> 4、新建一个图层,再来制作第二条光束。用钢笔勾出下图所示的选区并填充青色。
<图4>
单一一条光束并不是很起眼,如果是一组边缘透明度的光束,每条形态不同,颜色也有很多变化,并有序的组合在一起,整体效果就会漂亮很多。
<图5> 6、用钢笔勾出边缘高光选区羽化2个像素后按Ctrl + J 复制到新的图层,如下图。
<图6> 7、新建一个图层,开始制作第三条光束。用钢笔勾出下图所示的选区填充蓝色。
<图7>
单一一条光束并不是很起眼,如果是一组边缘透明度的光束,每条形态不同,颜色也有很多变化,并有序的组合在一起,整体效果就会漂亮很多。
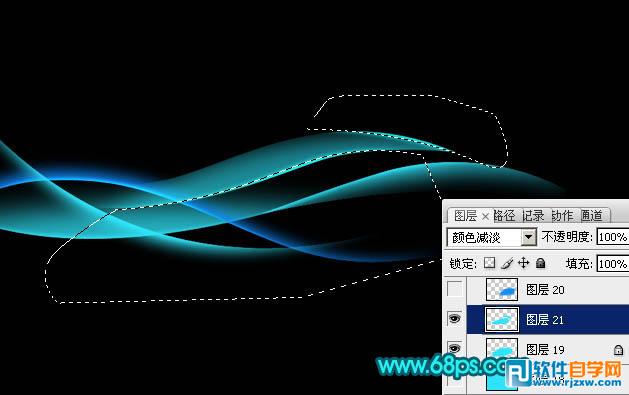
<图8> 9、再把边缘高光部分用钢笔勾出来,复制到新的图层后把图层混合模式改为“颜色减淡”,如下图。
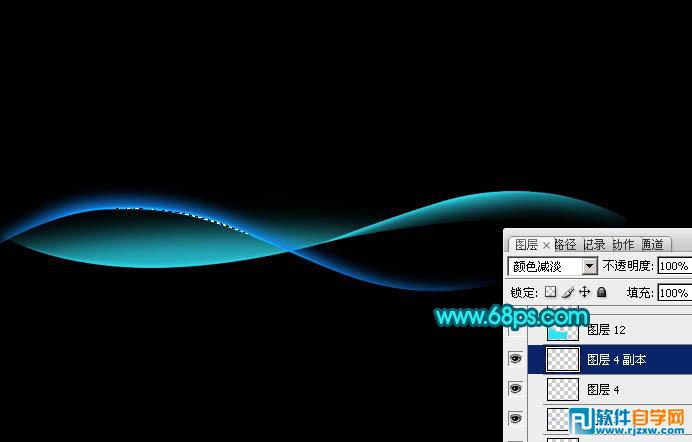
<图9> 10、同样的方法制作第四条光束,过程如图10 - 12。
<图10>
<图11>

<图12>
单一一条光束并不是很起眼,如果是一组边缘透明度的光束,每条形态不同,颜色也有很多变化,并有序的组合在一起,整体效果就会漂亮很多。

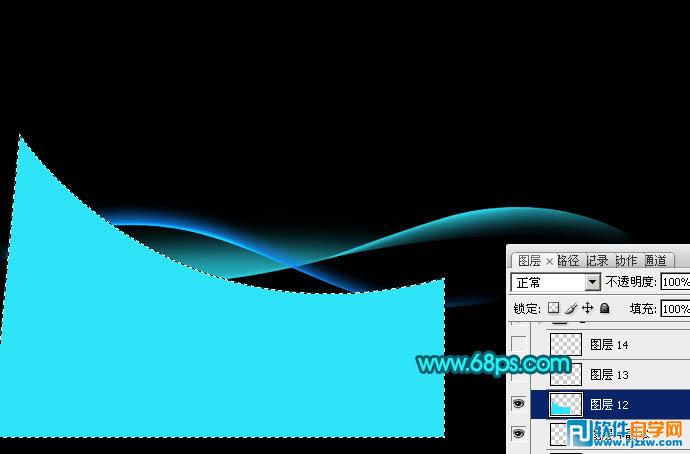
<图13> 12、在组里新建一个图层,用钢笔勾出下图所示的选区,羽化10个像素后填充青色,不透明度改为:60%,如下图。
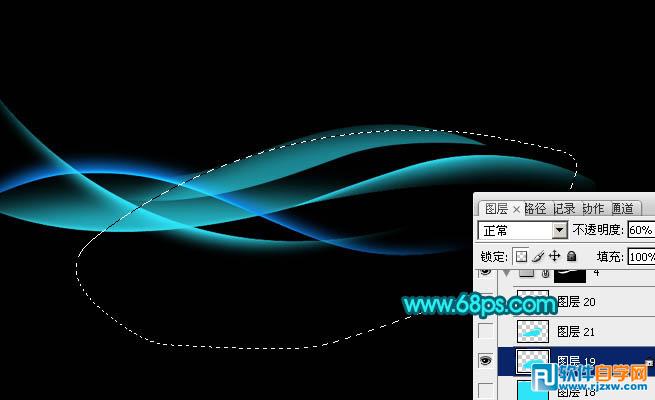
<图14> 13、新建一个图层,用钢笔勾出边缘的高光选区,羽化2个像素后填充青色,混合模式改为“颜色减淡”,如下图。
<图15>
单一一条光束并不是很起眼,如果是一组边缘透明度的光束,每条形态不同,颜色也有很多变化,并有序的组合在一起,整体效果就会漂亮很多。
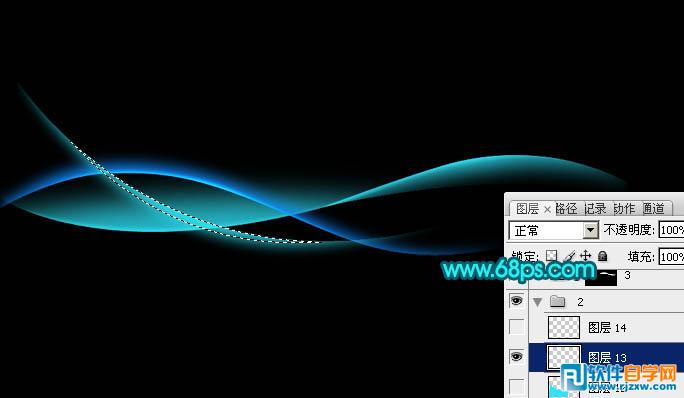
<图16> 15、其它光束制作方法相同,过程如图17 - 19。
<图17>

<图18>

<图19>
单一一条光束并不是很起眼,如果是一组边缘透明度的光束,每条形态不同,颜色也有很多变化,并有序的组合在一起,整体效果就会漂亮很多。

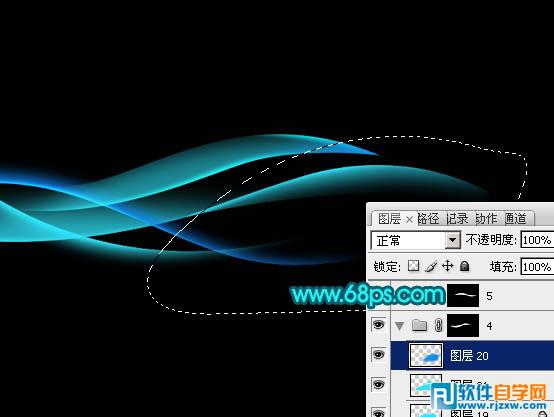
<图20> 17、把背景图层隐藏,在图层的最上面按Ctrl + Alt + Shift + E 盖印图层,不透明度改为:30%,如下图。

<图21> 最后调整细节,再增加一些装饰文字,完成最终效果。
标签: PS