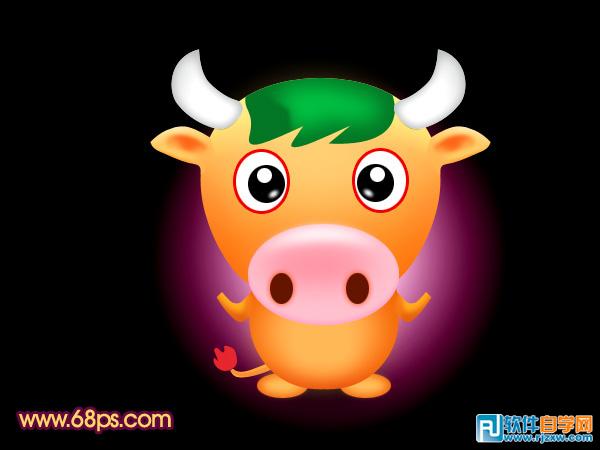
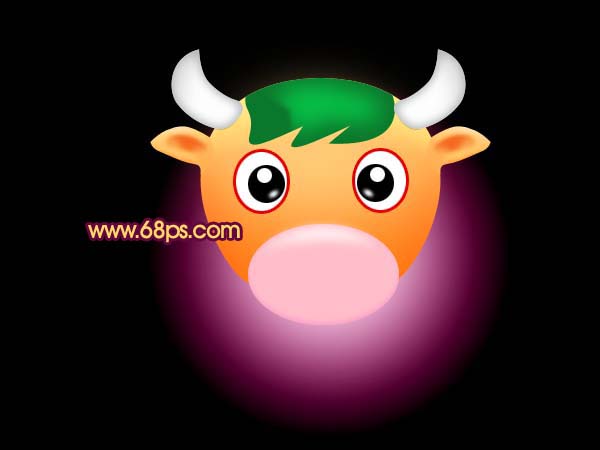
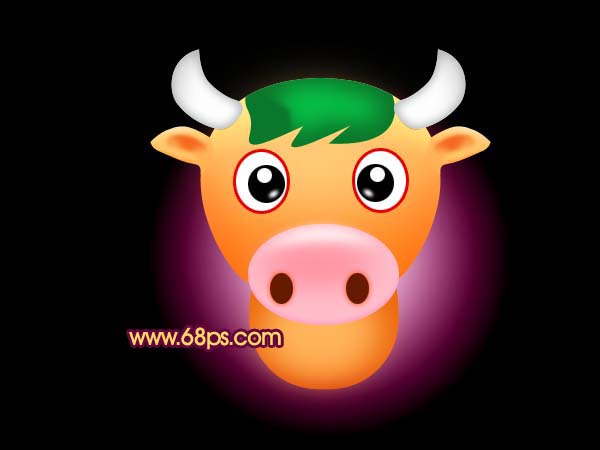
卡通风格的图像制作相对比较简单一点。操作上基本上是用钢笔工具构图,然后填色,再适当调整填充色高光和暗调即可。 最终效果
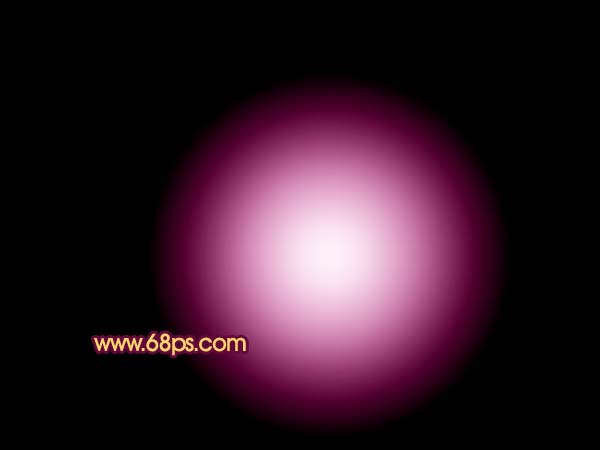
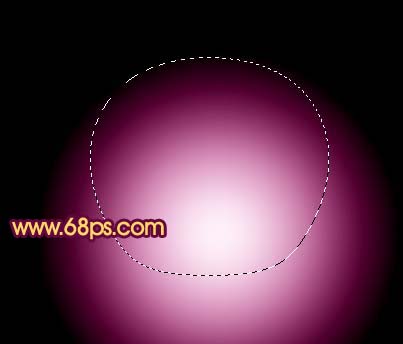
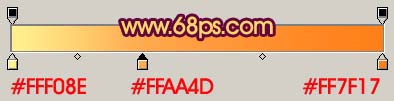
 1、新建一个600 * 450 像素的文件,选择渐变工具,颜色设置如图1,拉出图2所示的径向渐变。
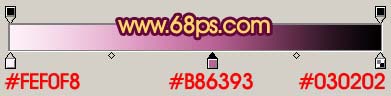
<图1>
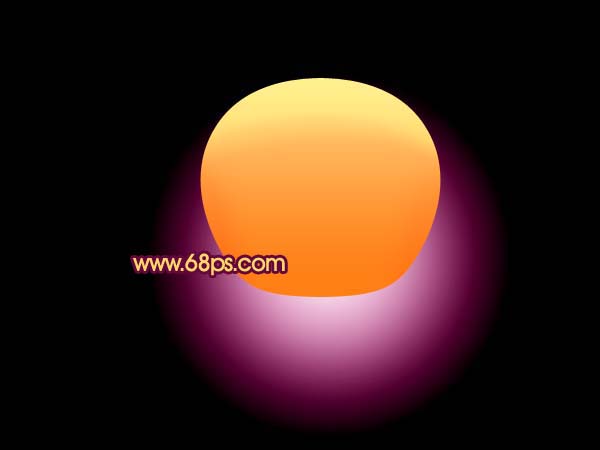
<图2>
卡通风格的图像制作相对比较简单一点。操作上基本上是用钢笔工具构图,然后填色,再适当调整填充色高光和暗调即可。
1、新建一个600 * 450 像素的文件,选择渐变工具,颜色设置如图1,拉出图2所示的径向渐变。 <图1>
<图2>
卡通风格的图像制作相对比较简单一点。操作上基本上是用钢笔工具构图,然后填色,再适当调整填充色高光和暗调即可。
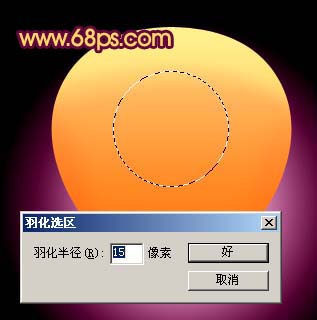
<图3>
<图4>
<图5>
卡通风格的图像制作相对比较简单一点。操作上基本上是用钢笔工具构图,然后填色,再适当调整填充色高光和暗调即可。
<图6>

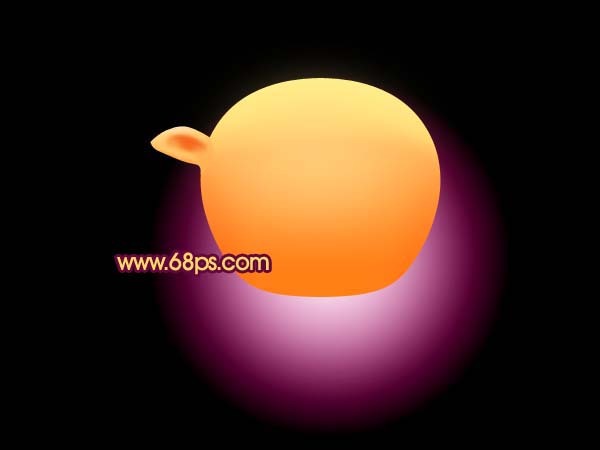
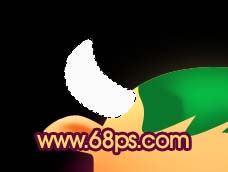
<图7> 4、新建一个图层,选择钢笔工具勾出牛耳朵的轮廓,转为选区如图8,然后填充颜色:#FF983E,效果如图9。
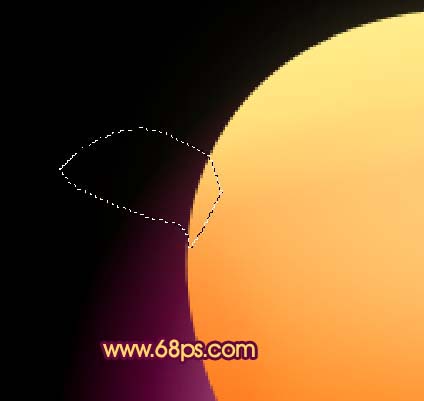
<图8>
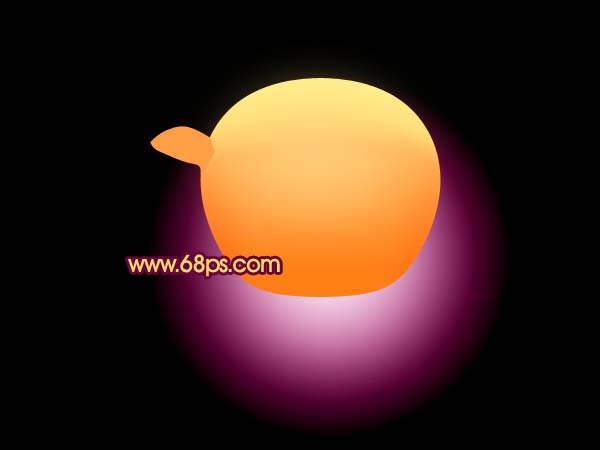
<图9>
卡通风格的图像制作相对比较简单一点。操作上基本上是用钢笔工具构图,然后填色,再适当调整填充色高光和暗调即可。
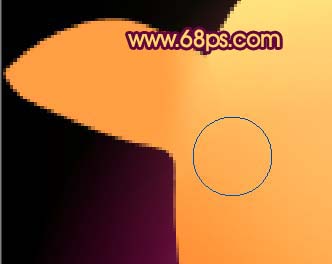
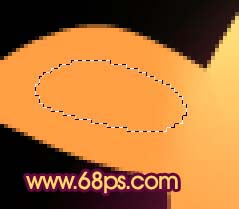
<图10> 6、新建一个图层,用钢笔工具勾出图11所示的选区,按Ctrl + Alt + D 羽化2个像素,填充颜色:#F4691F,取消选区后效果如图12。
<图11>

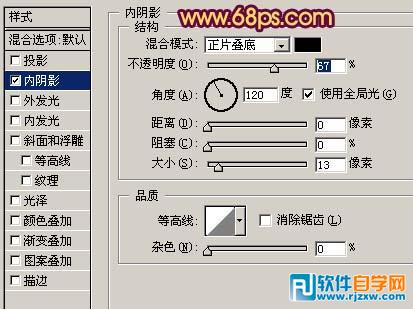
<图12> 7、加上图层蒙版,稍微把两端部分用黑色画笔涂一下,适当用加深/减淡工具把耳朵部分的光感加强一下,效果如图13。
<图13>
卡通风格的图像制作相对比较简单一点。操作上基本上是用钢笔工具构图,然后填色,再适当调整填充色高光和暗调即可。
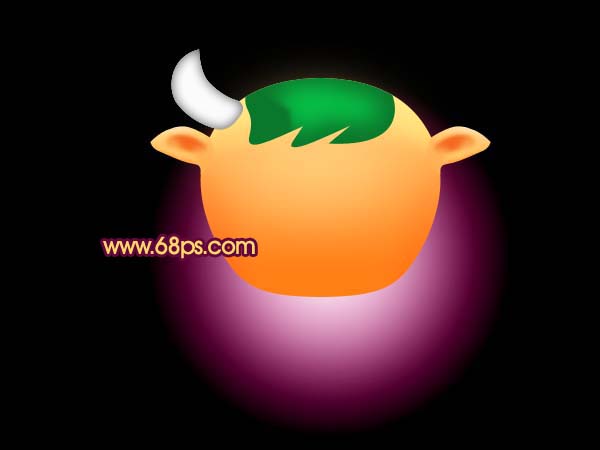
<图14> 9、新建一个图层,用钢笔勾出头发部分选区,填充深绿色如图15。
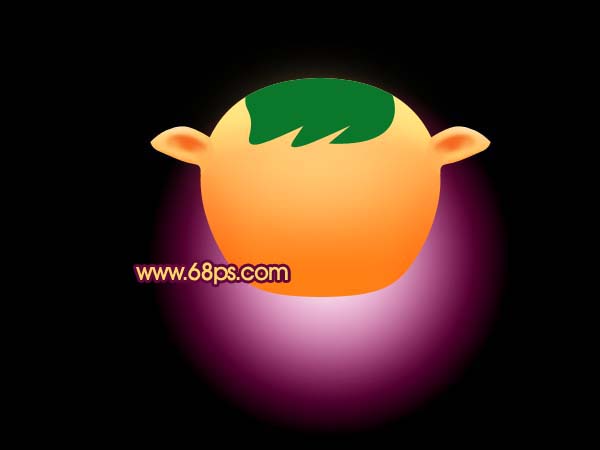
<图15> 10、锁定图层后,用画笔涂上头发高光(浅绿色),如图16。
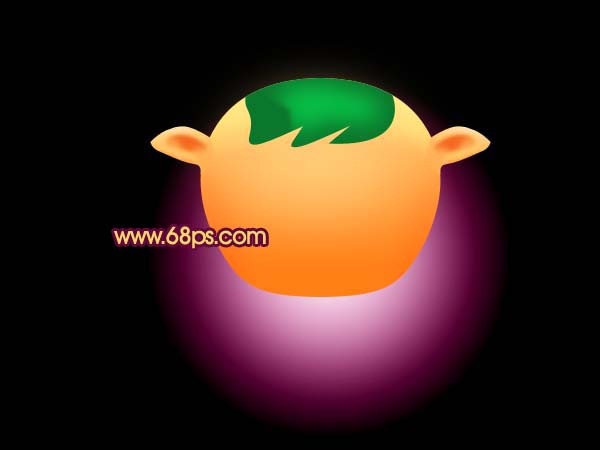
<图16>
卡通风格的图像制作相对比较简单一点。操作上基本上是用钢笔工具构图,然后填色,再适当调整填充色高光和暗调即可。
<图17>
<图18>
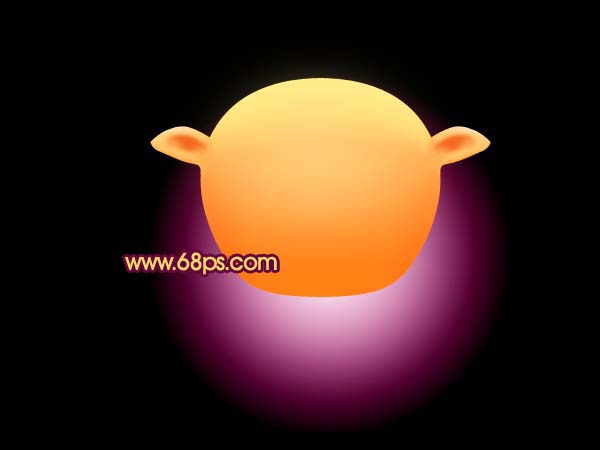
<图19> 12、右边的复制即可,效果如图20。
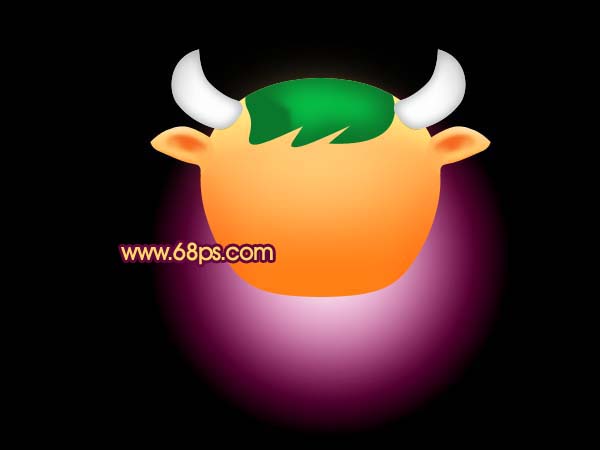
<图20>
卡通风格的图像制作相对比较简单一点。操作上基本上是用钢笔工具构图,然后填色,再适当调整填充色高光和暗调即可。
<图21>

<图22>

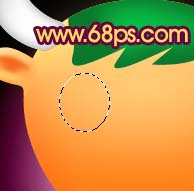
<图23> 14、新建一个图层,用椭圆选框工具拉出一个较小的椭圆,填充黑色,效果如图24。

<图24>
卡通风格的图像制作相对比较简单一点。操作上基本上是用钢笔工具构图,然后填色,再适当调整填充色高光和暗调即可。
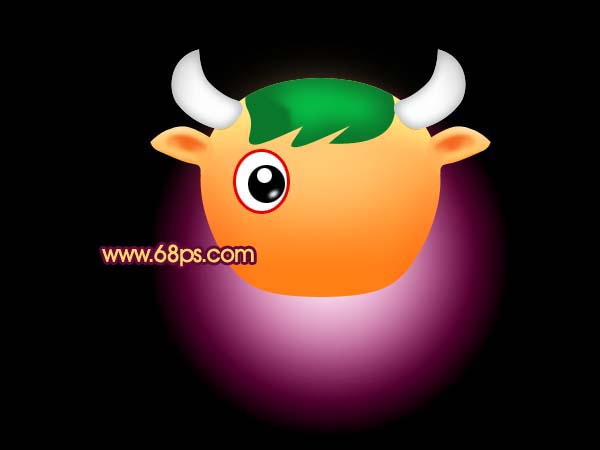
<图25> 16、右边的眼睛复制即可。
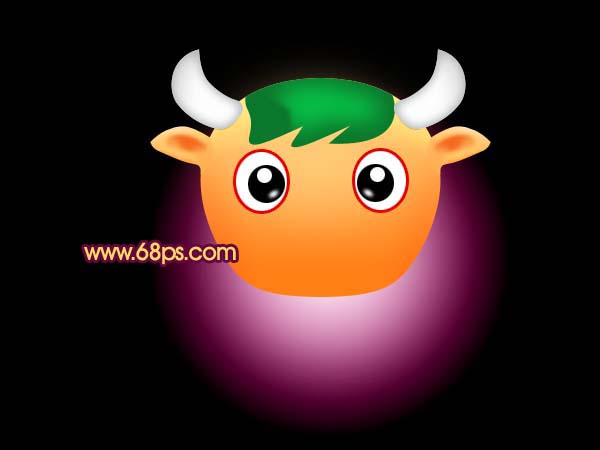
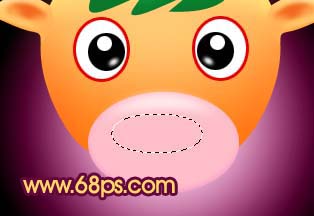
<图26> 17、新建一个图层,用椭圆选框工具拉一个椭圆作为牛的嘴巴,然后填充粉红色,效果如图27。
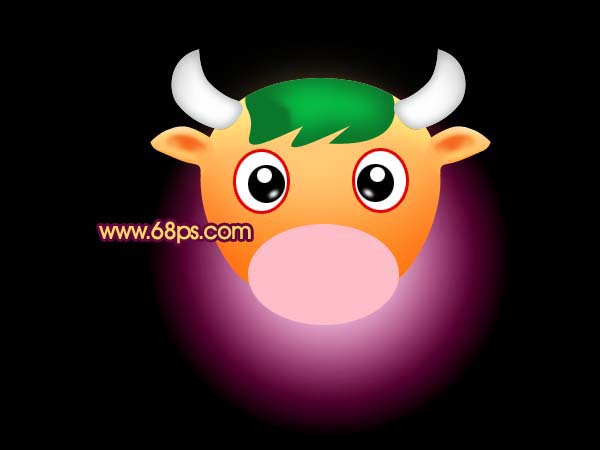
<图27>
卡通风格的图像制作相对比较简单一点。操作上基本上是用钢笔工具构图,然后填色,再适当调整填充色高光和暗调即可。
<图28> 19、新建一个图层,用椭圆选框工具在鼻子上面拉一个椭圆选区,羽化5个像素后填充深一点的粉红色,效果如图30。
<图29>
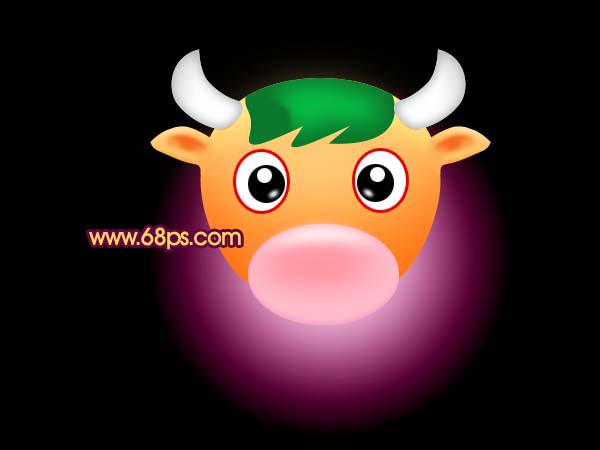
<图30>
卡通风格的图像制作相对比较简单一点。操作上基本上是用钢笔工具构图,然后填色,再适当调整填充色高光和暗调即可。
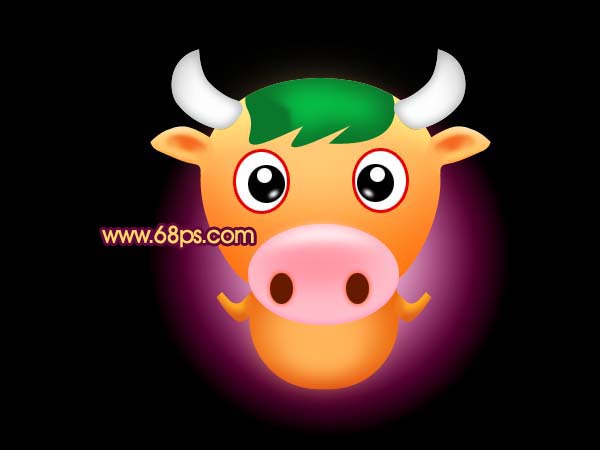
<图31> 21、同样的方法作出牛身部分。
<图32> 22、前蹄部分的制作。
<图33>
卡通风格的图像制作相对比较简单一点。操作上基本上是用钢笔工具构图,然后填色,再适当调整填充色高光和暗调即可。
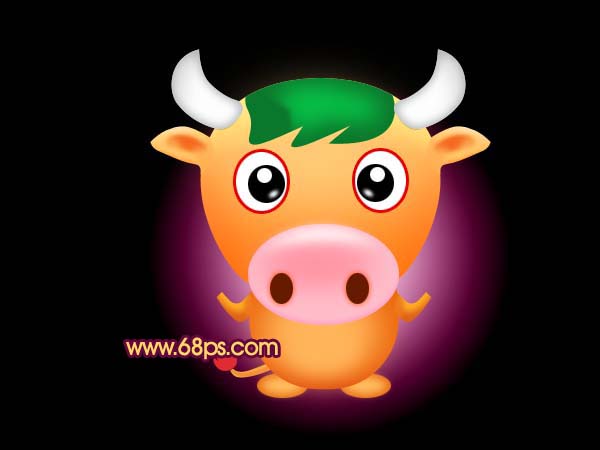
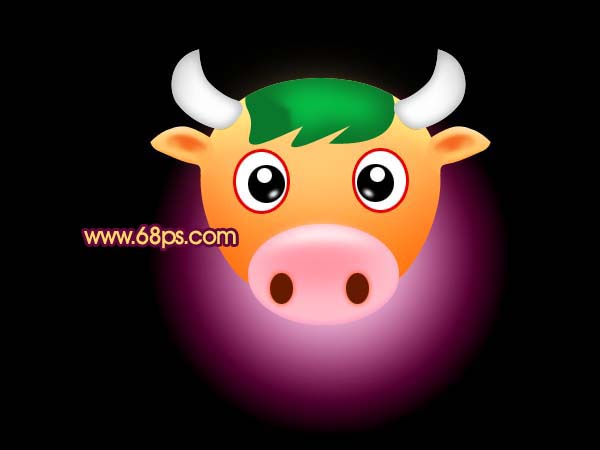
<图34> 24、最后整体调整下细节,完成最终效果。
<图35>